The Design Process
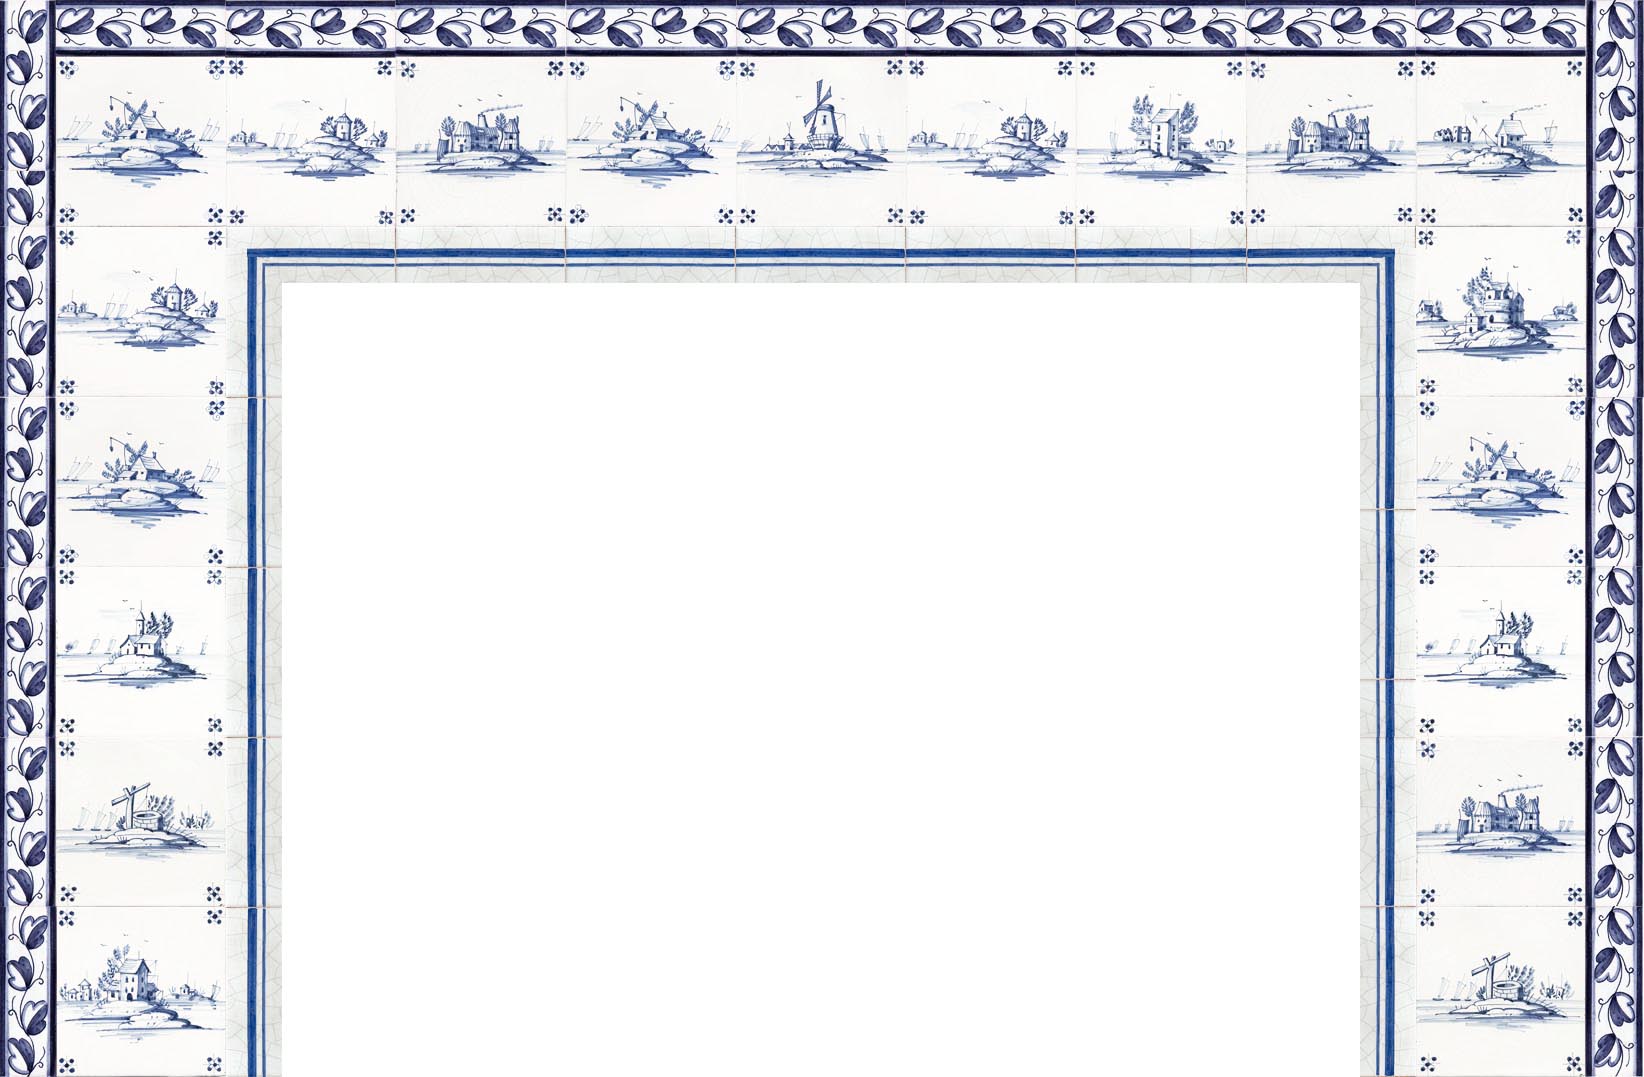
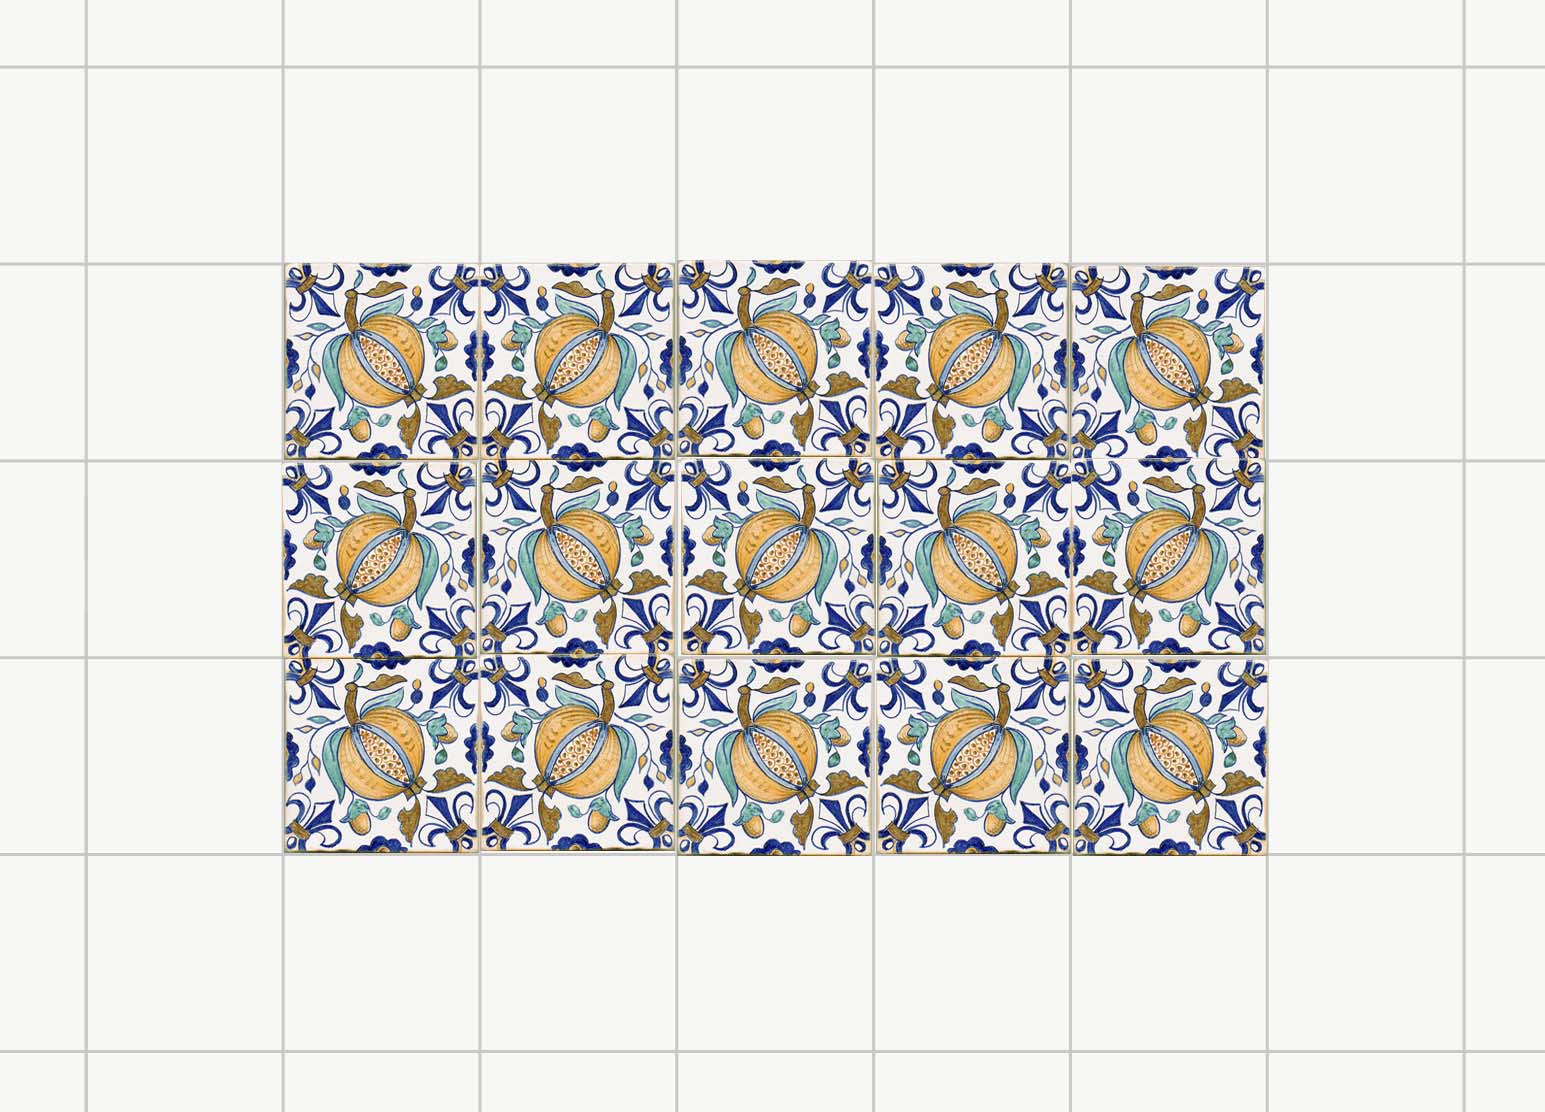
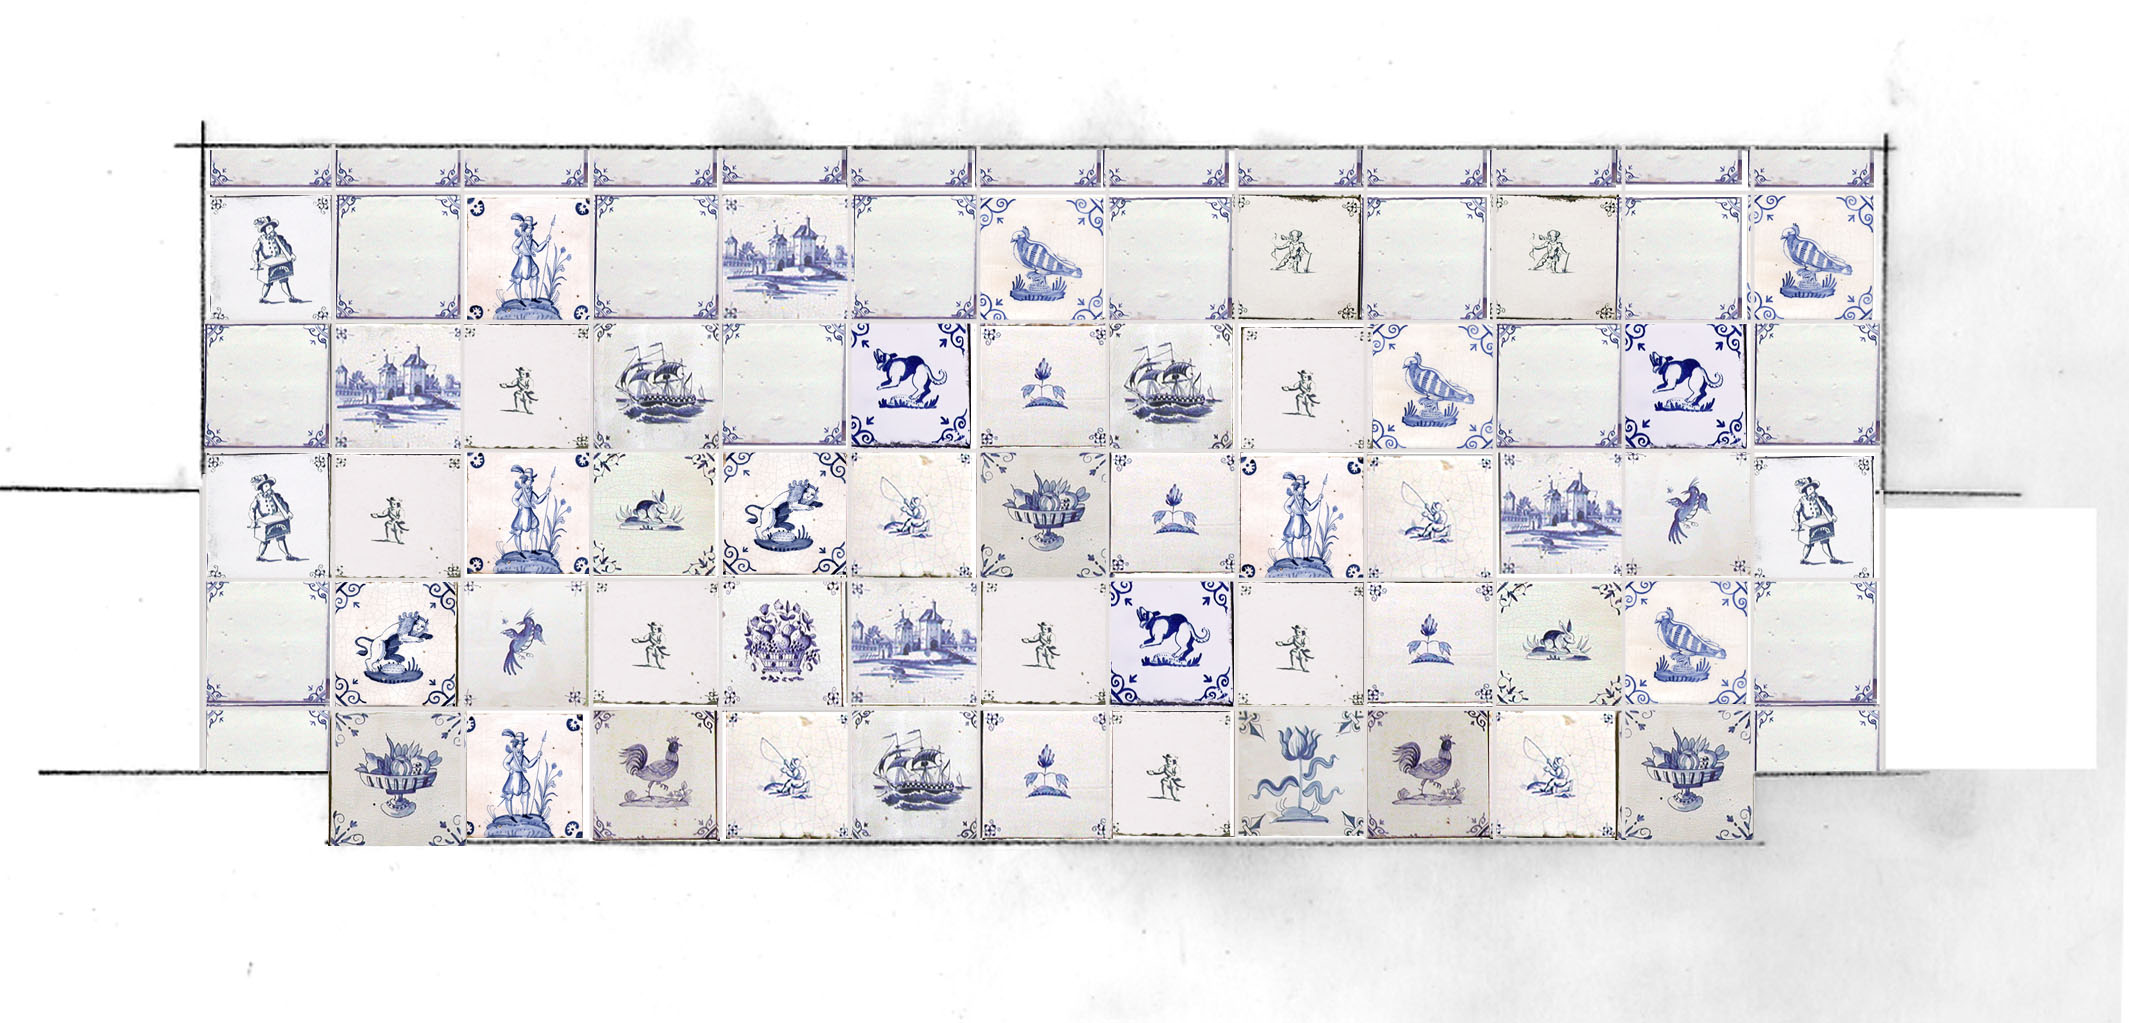
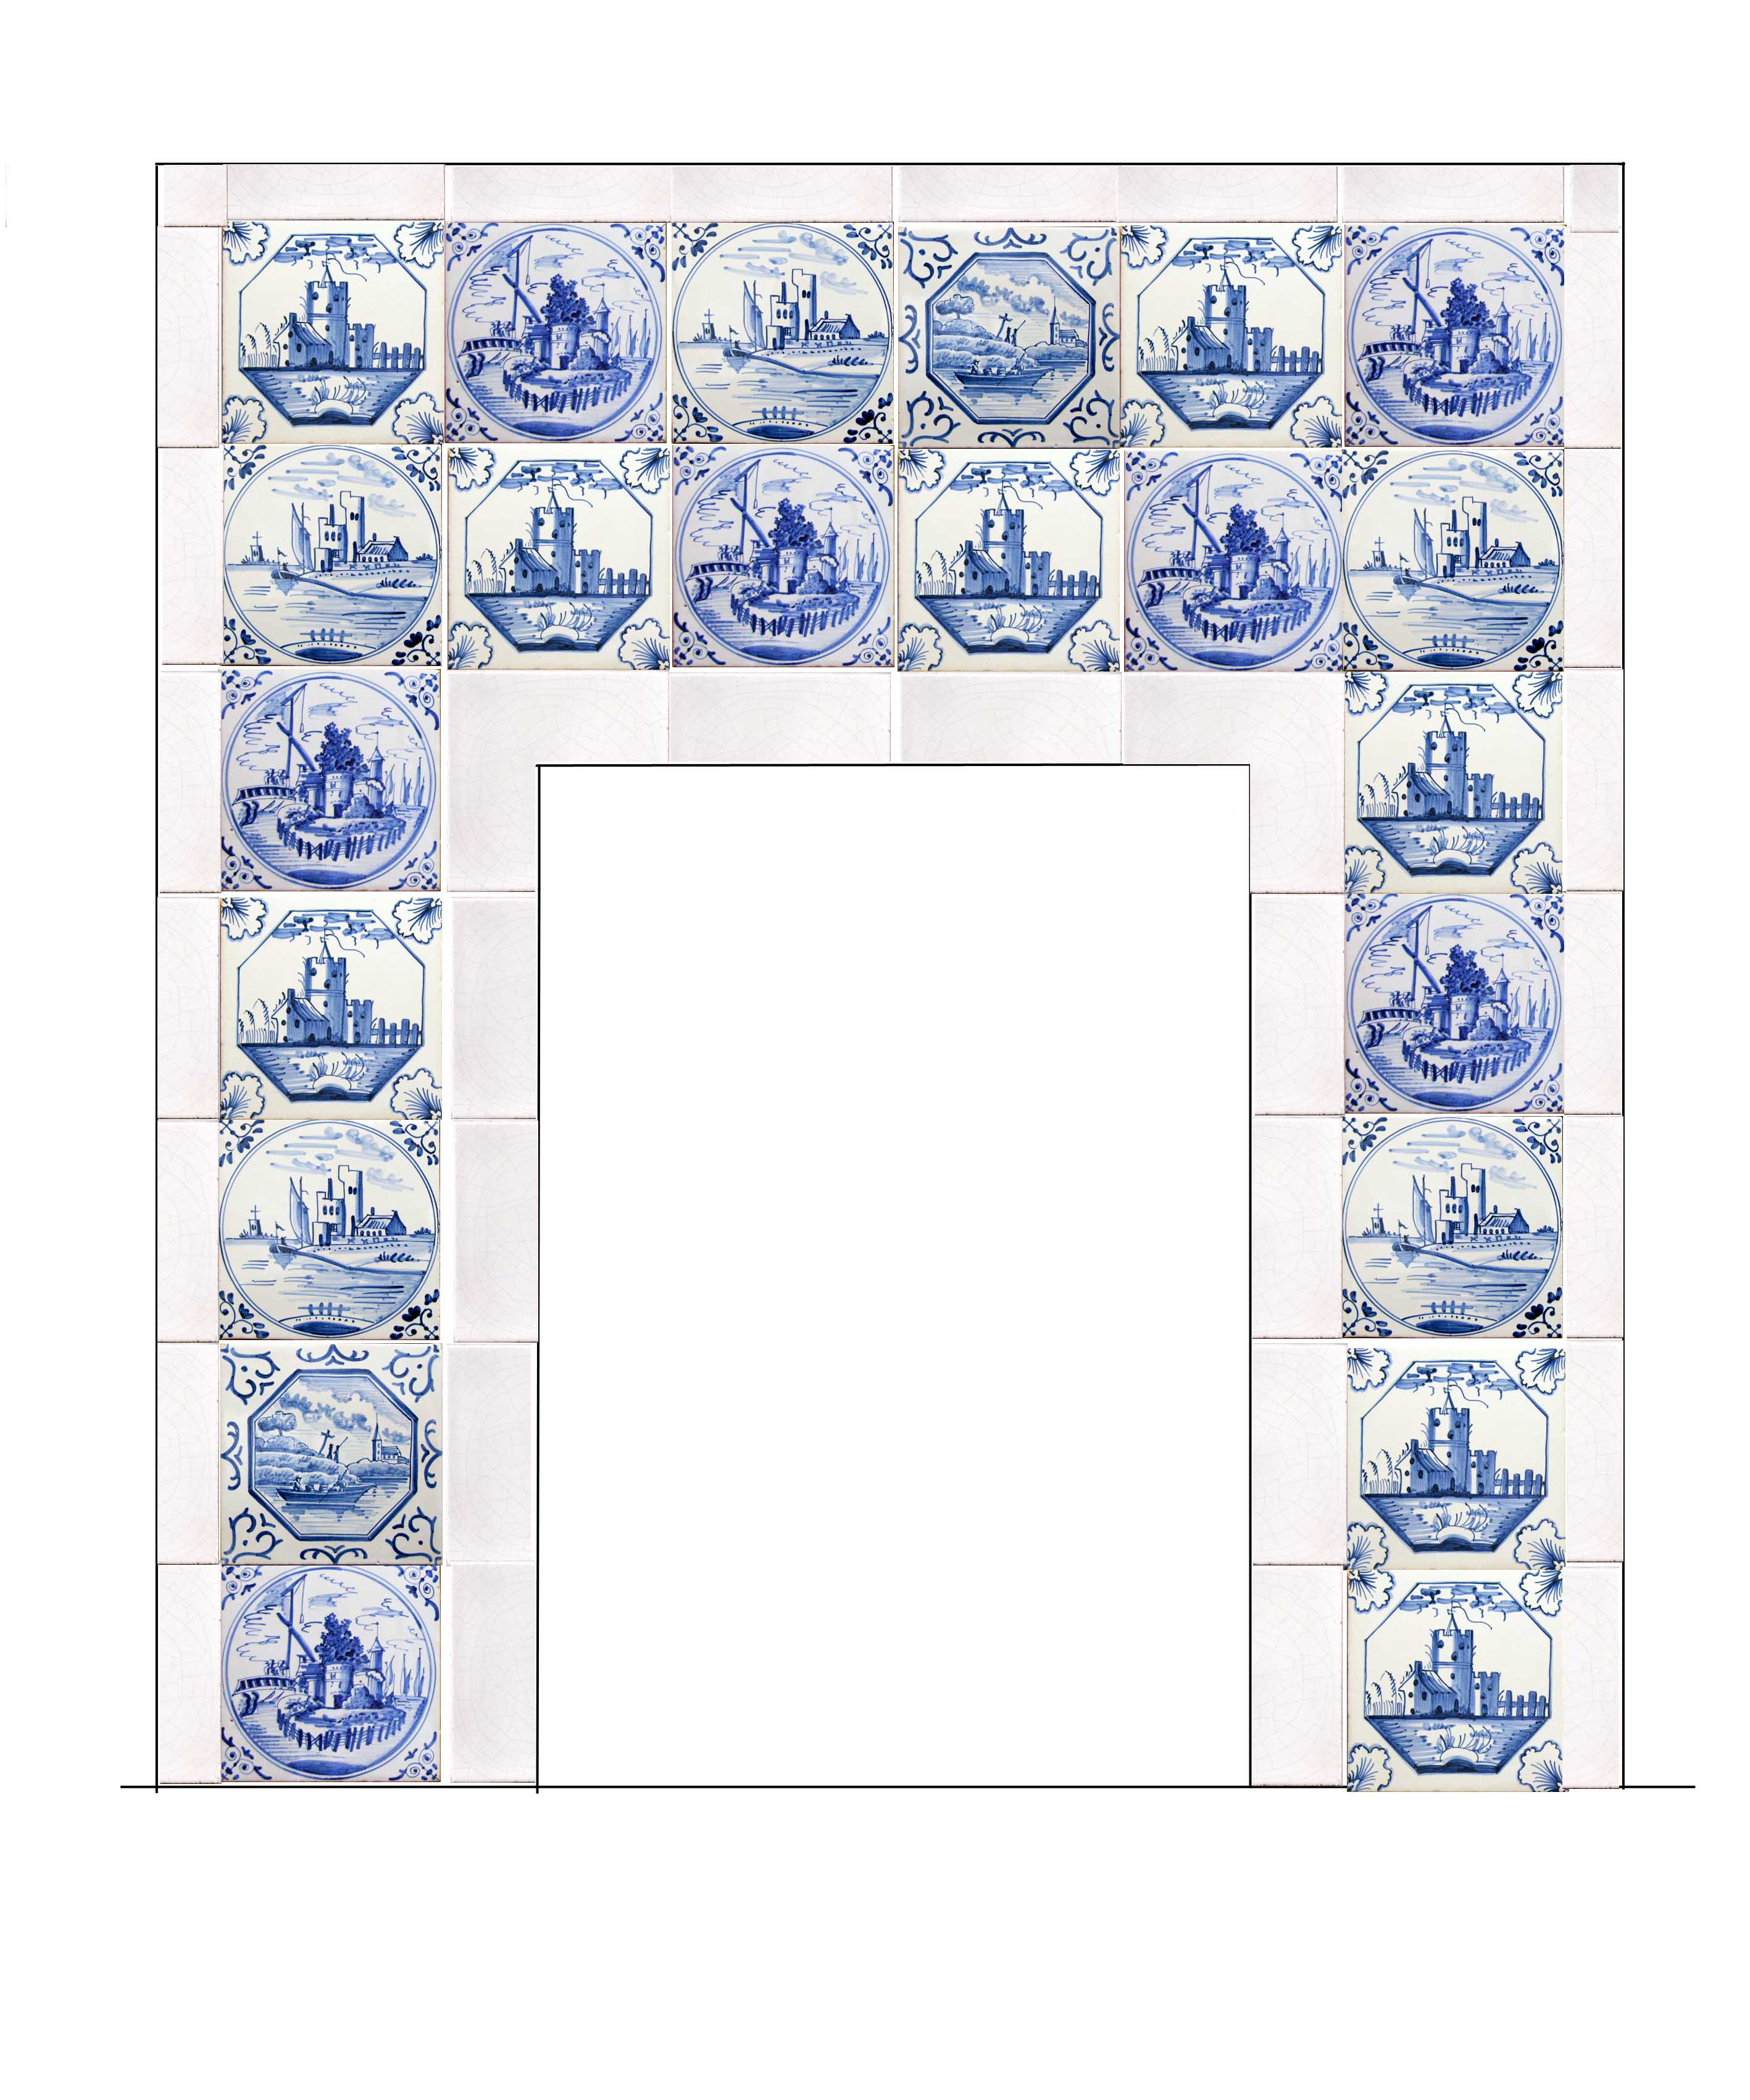
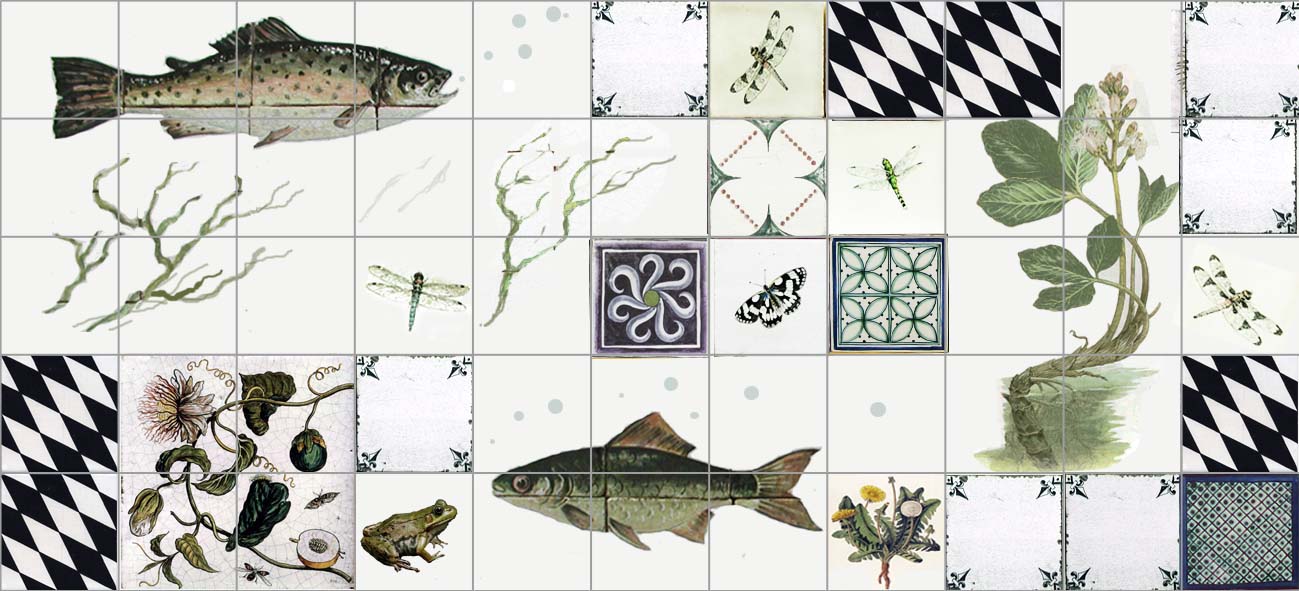
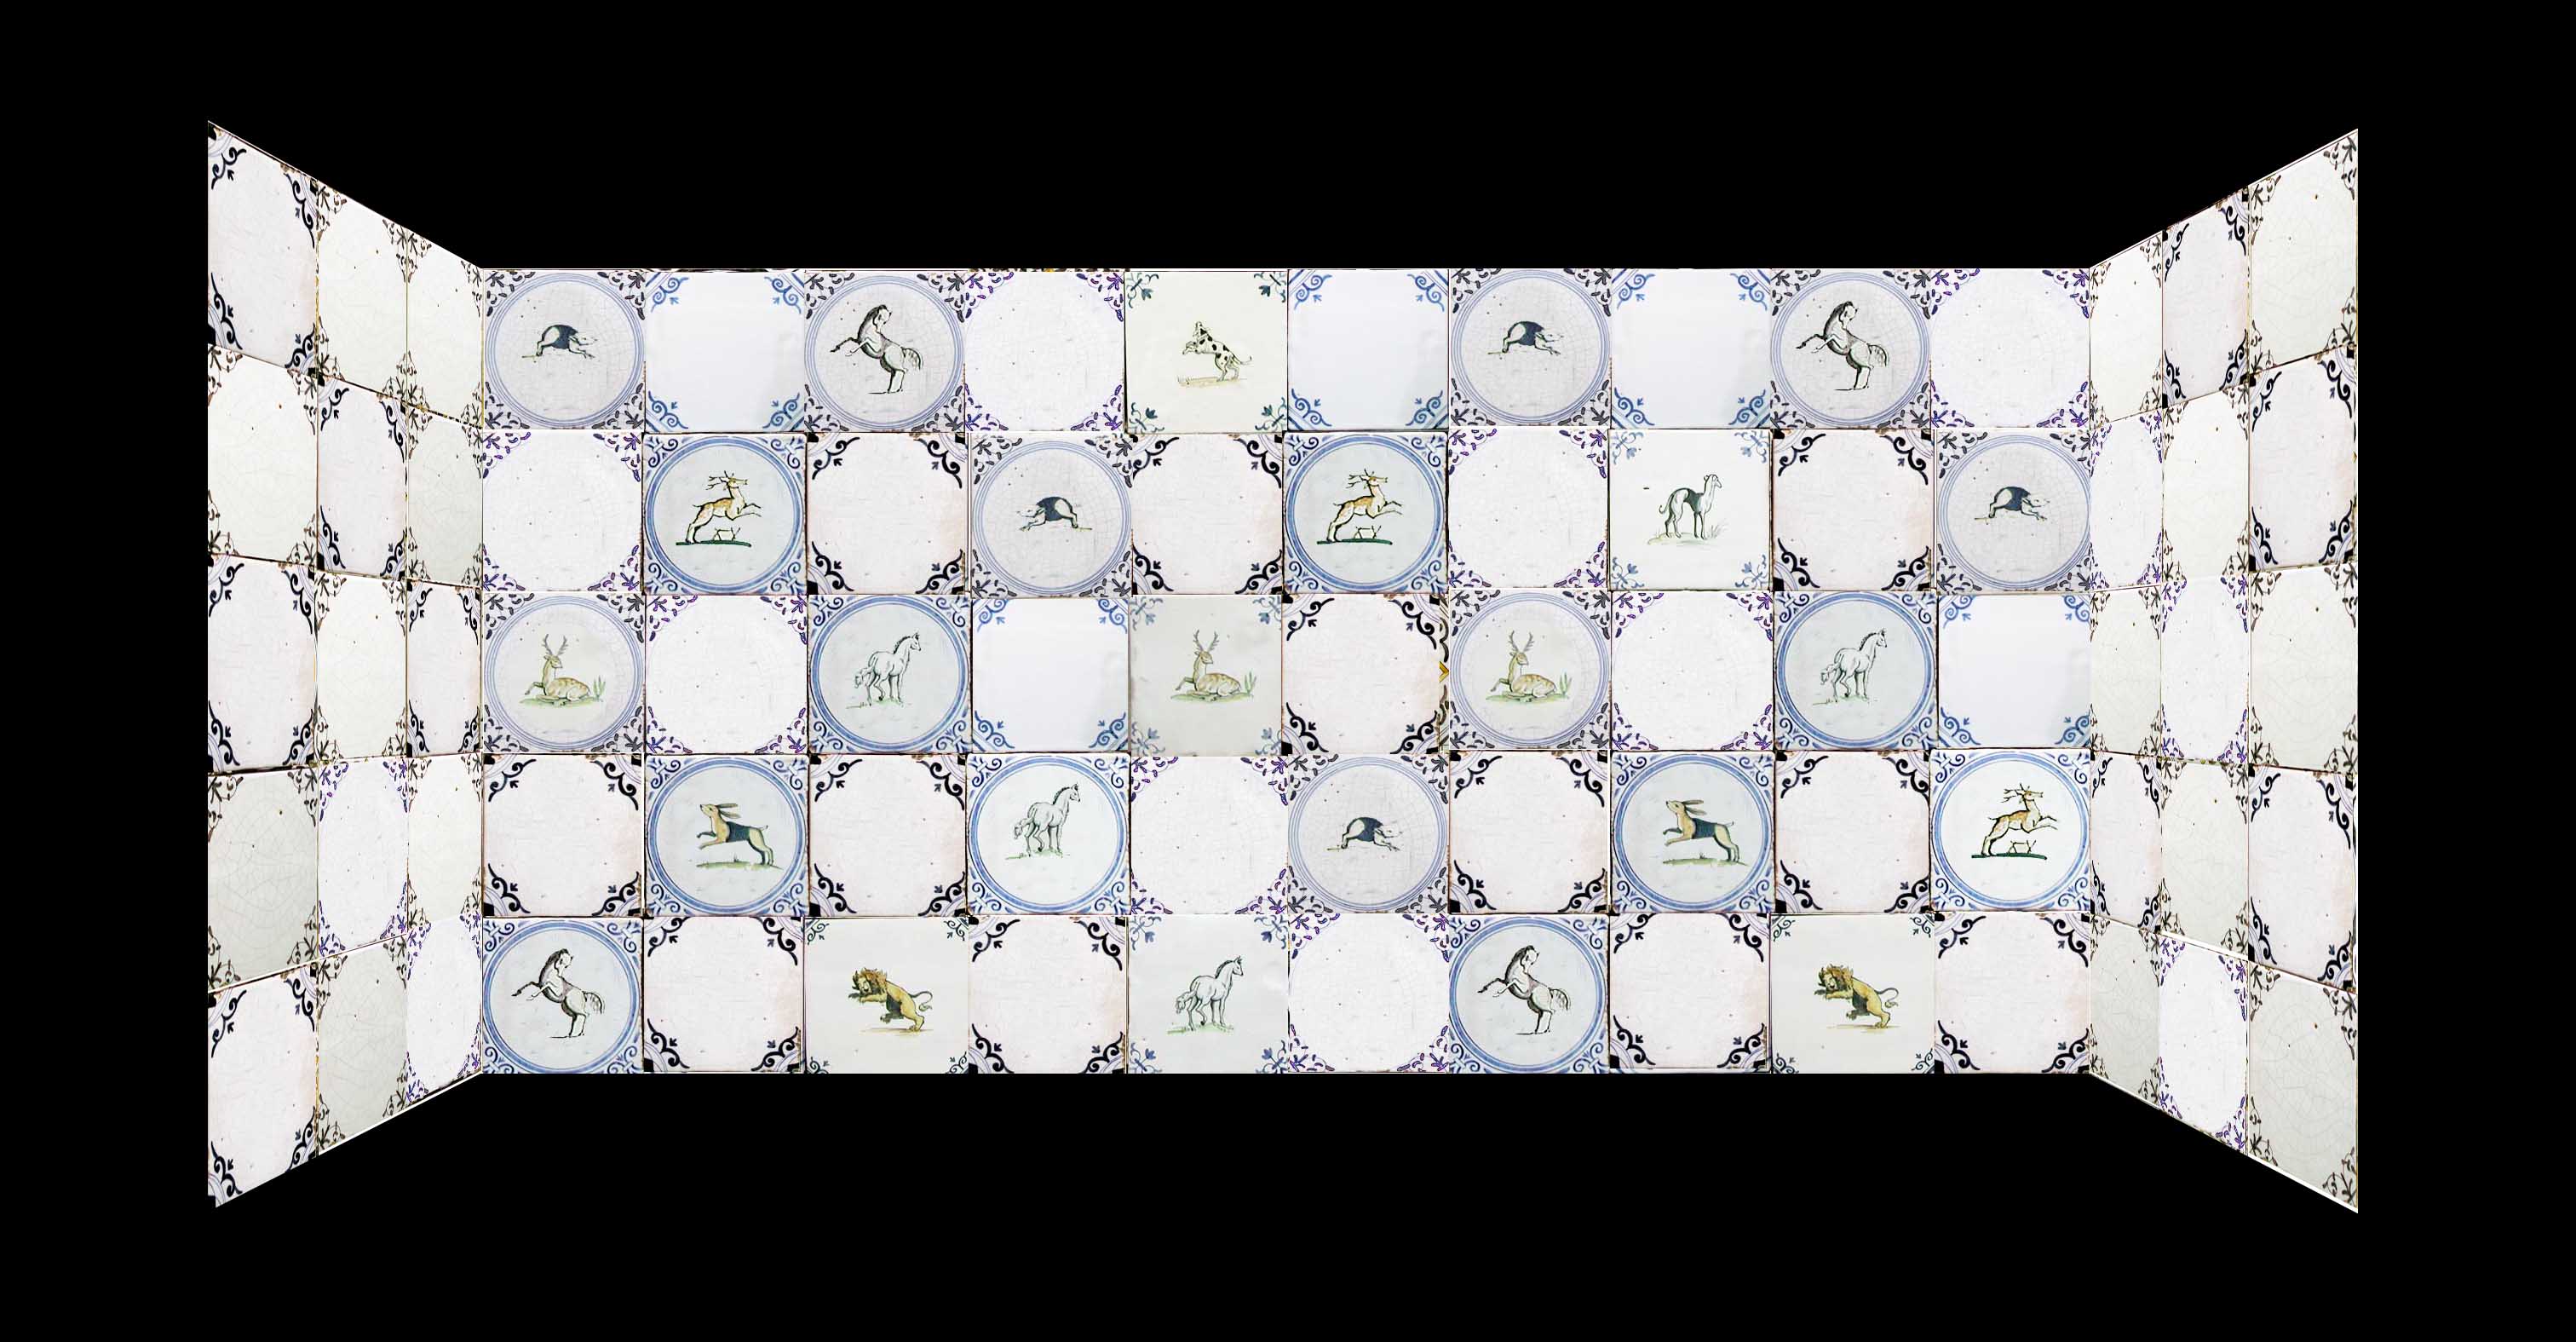
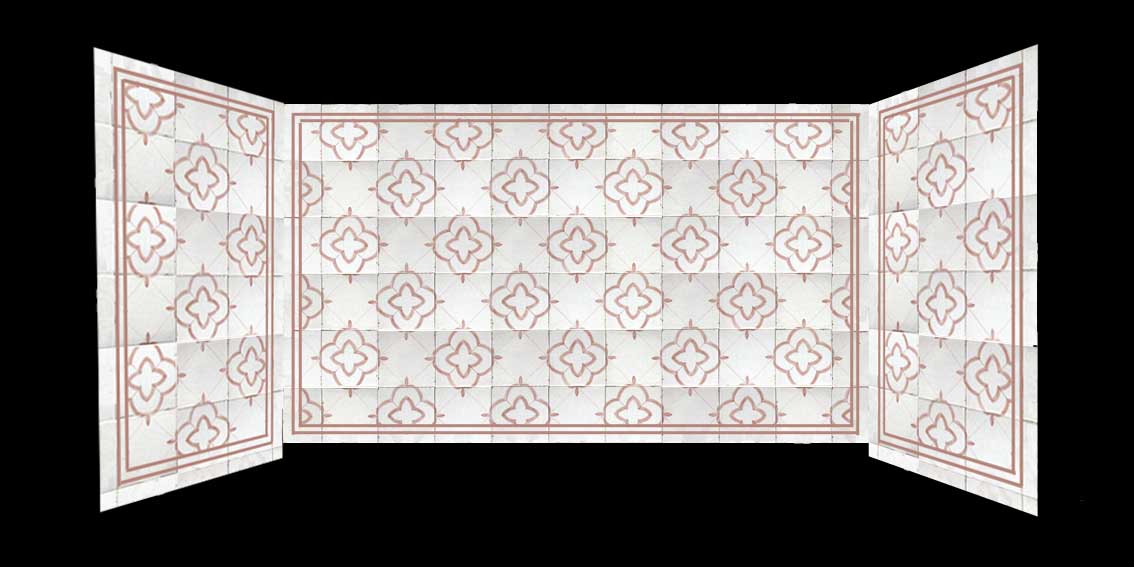
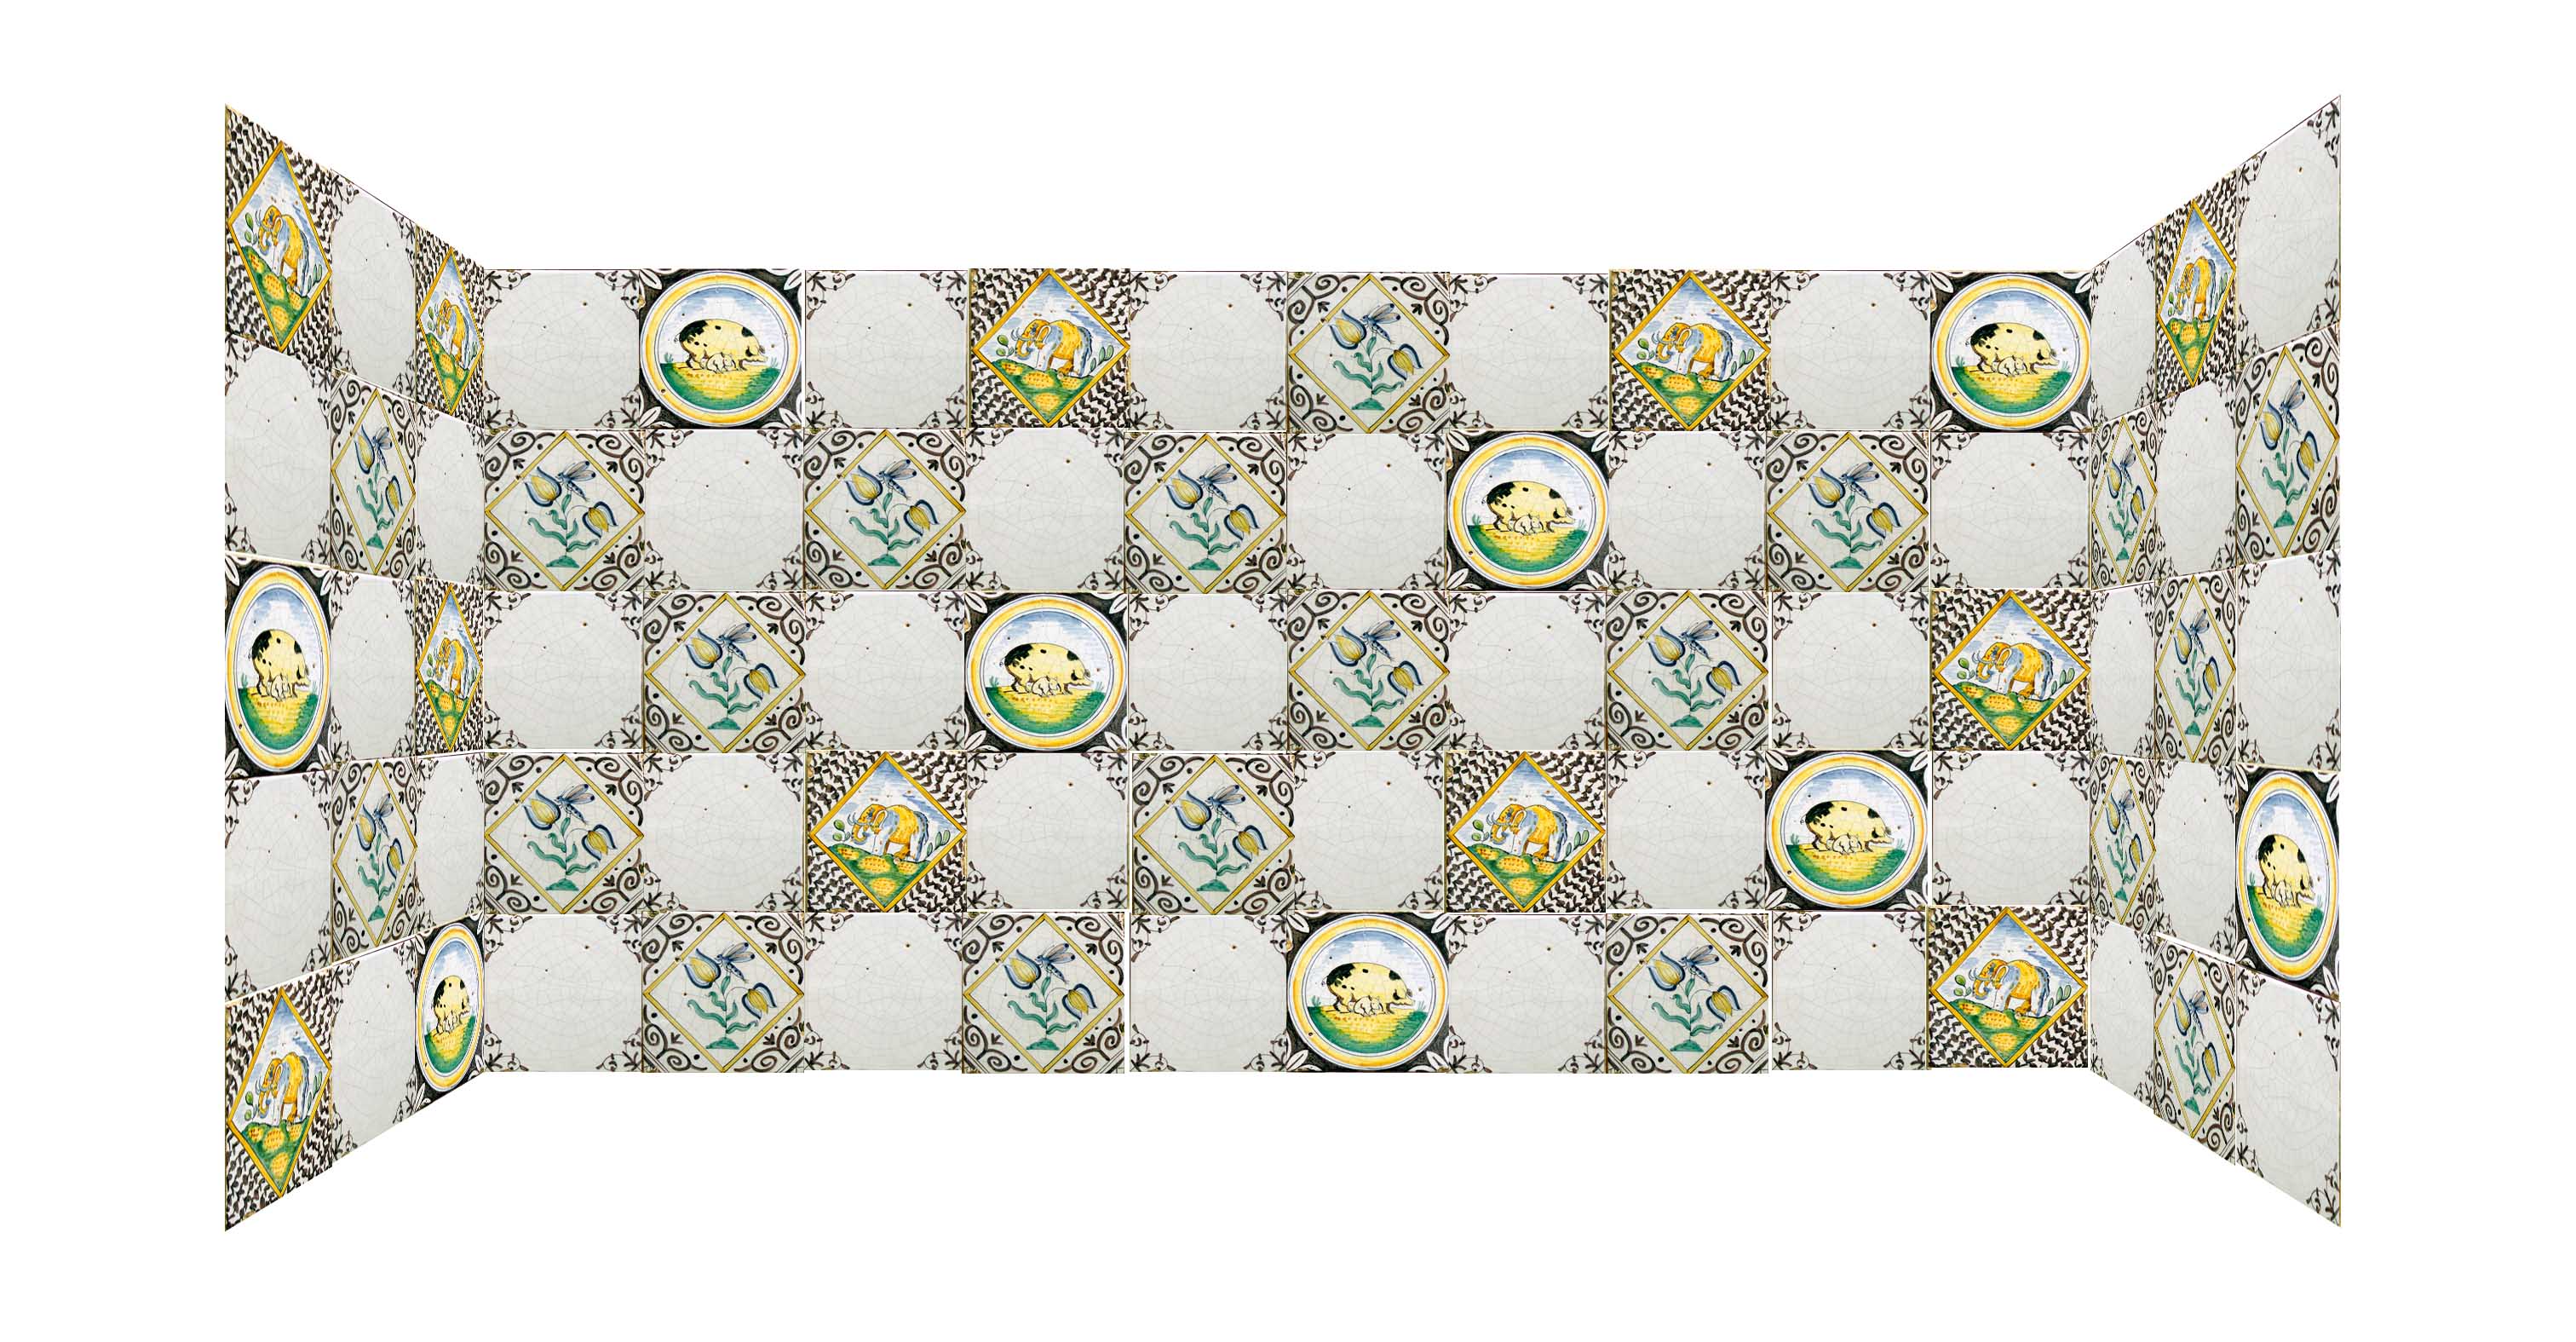
The process of ordering tiles may begin with a drawing or a mock up to help visualise the finished product.
The process of creating a tile panel or simply choosing tiles for an area can be difficult, especially when the choice is more or less unlimited!
It is not only the kind of images, or whether to have a panel or individual designs, but what colours will work for the area. And then there are the considerations of type of glaze, size of tile etc. We have two main kinds–conventional glaze and “Fresco”, which was developed by us and has a unique matt finish.
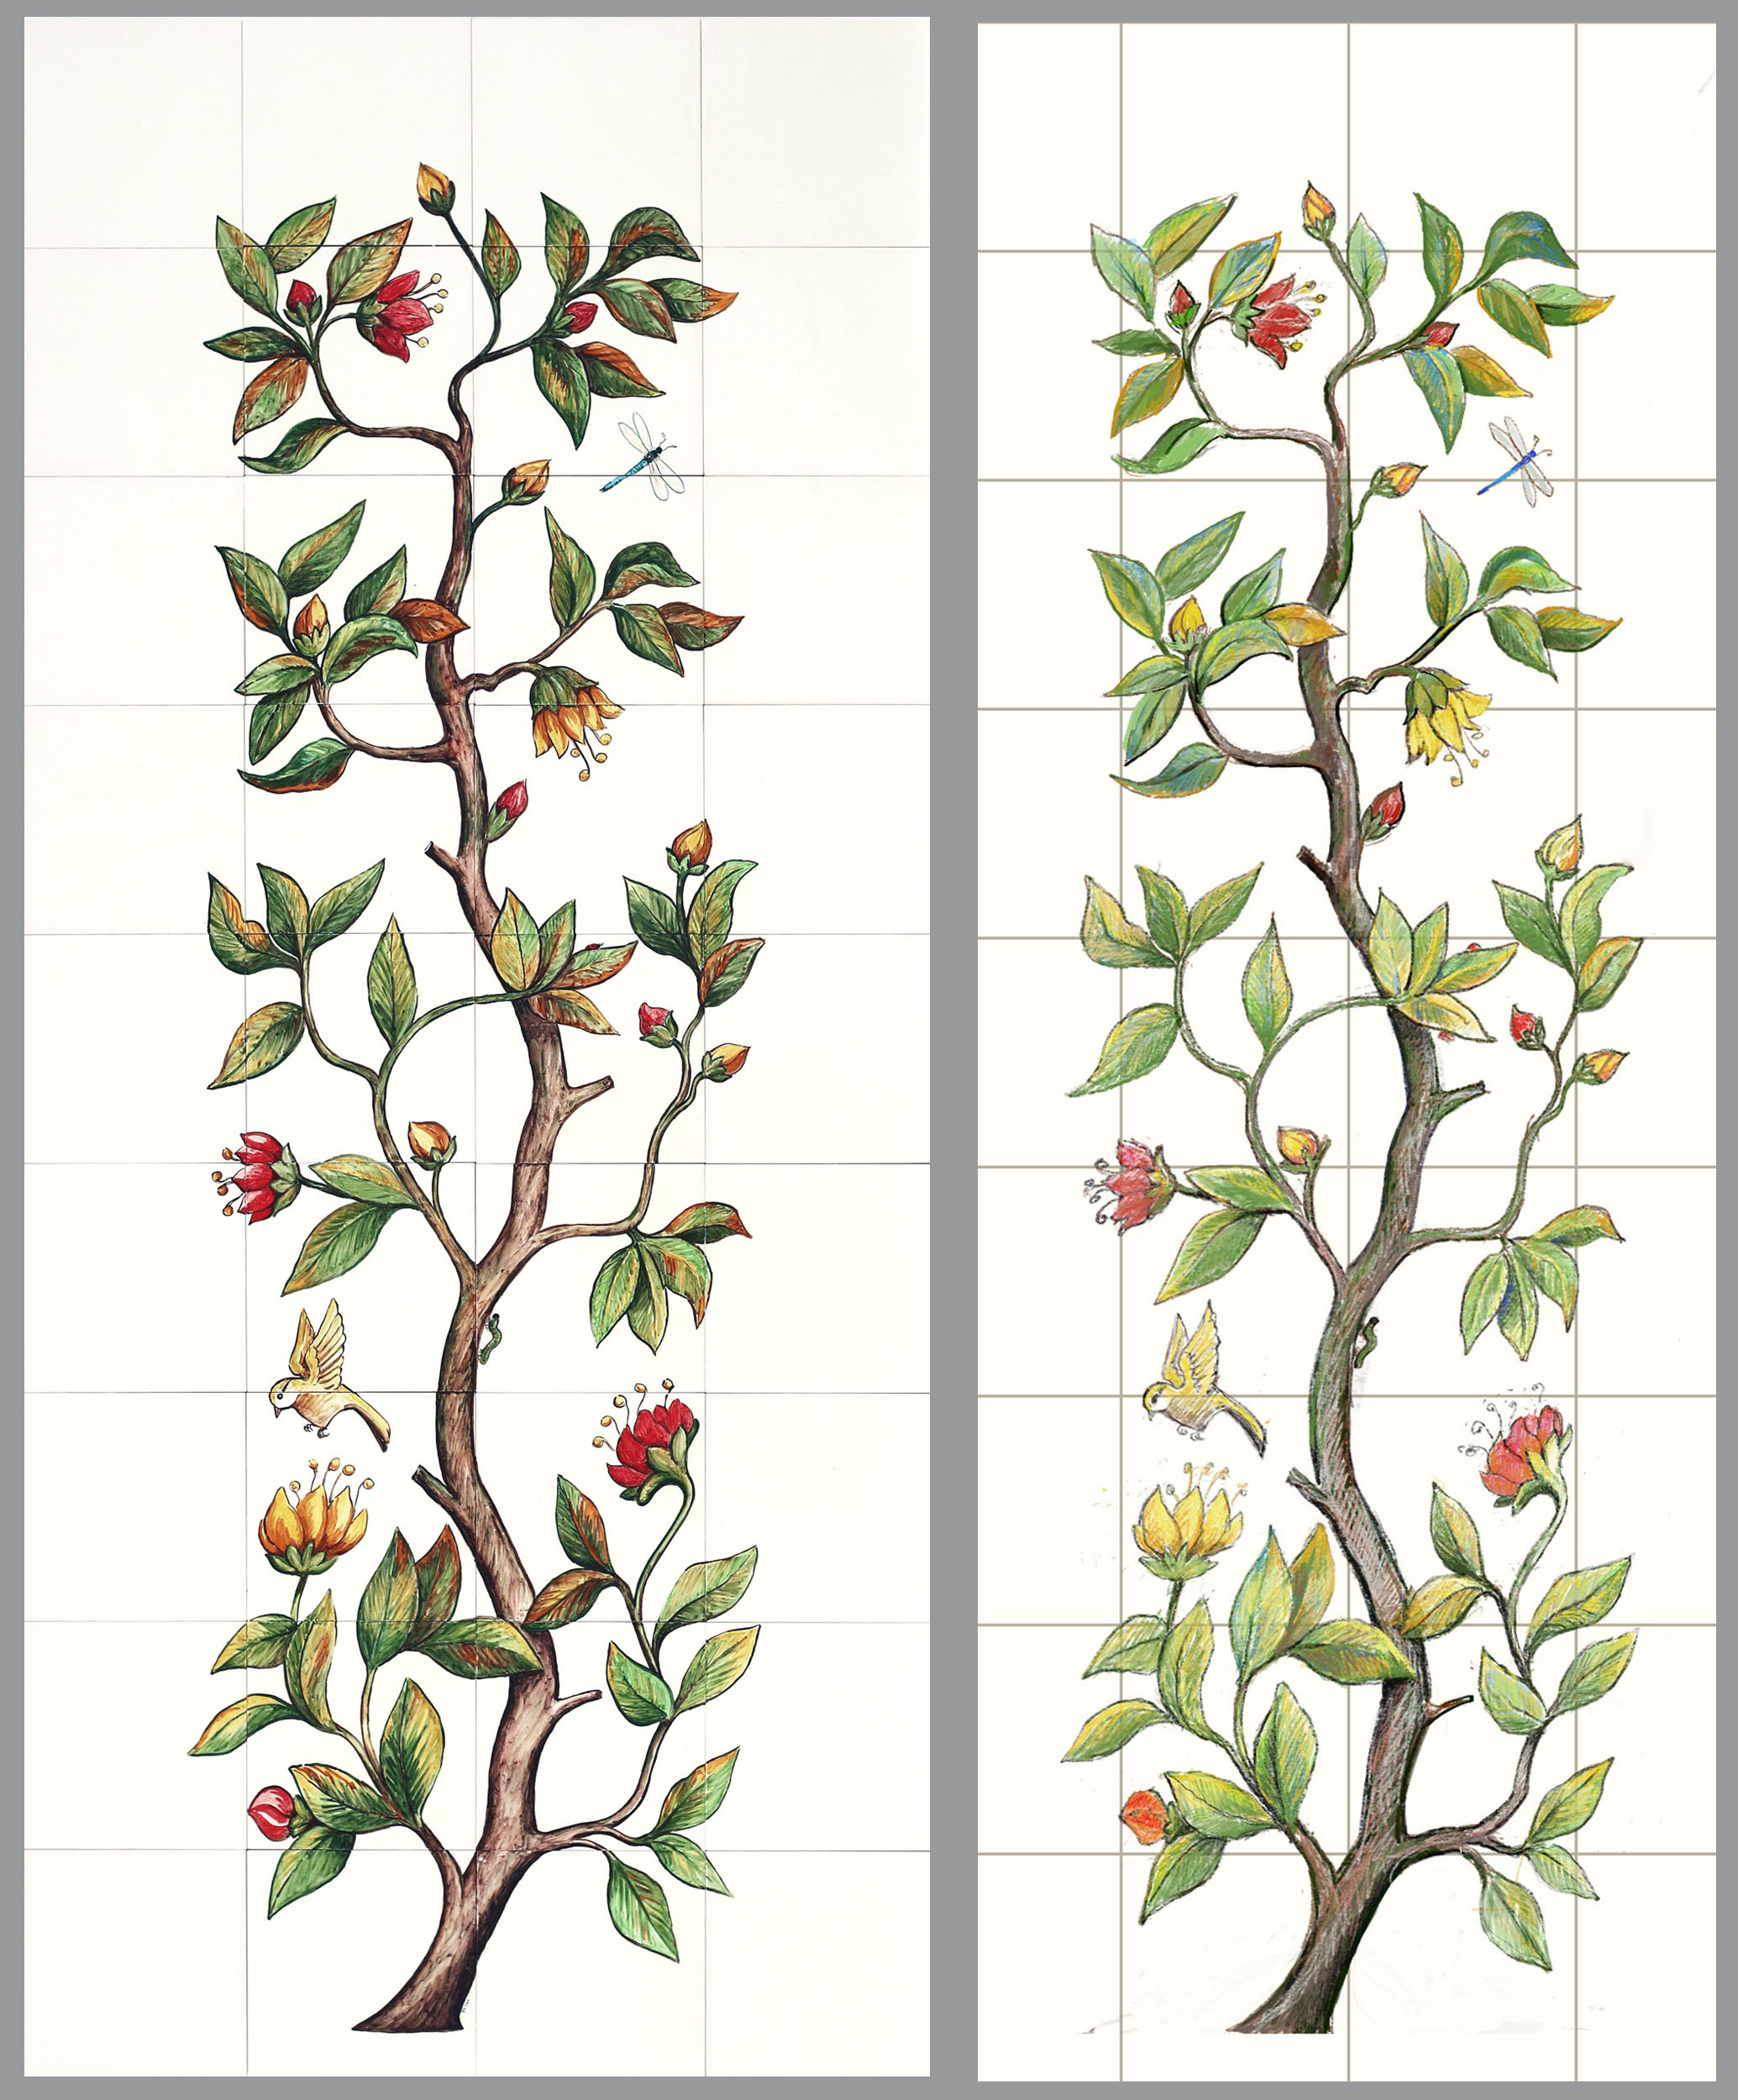
In this case the client wanted a panel for her shower based on a simplified and stylised tree image. After a few alterations this is the final drawing (on the right) which was copied onto tiles. The finished panel is shown on the left. She knew what she wanted beforehand and had made the choice of a light cream non-crackle glaze for the mural to be painted on.
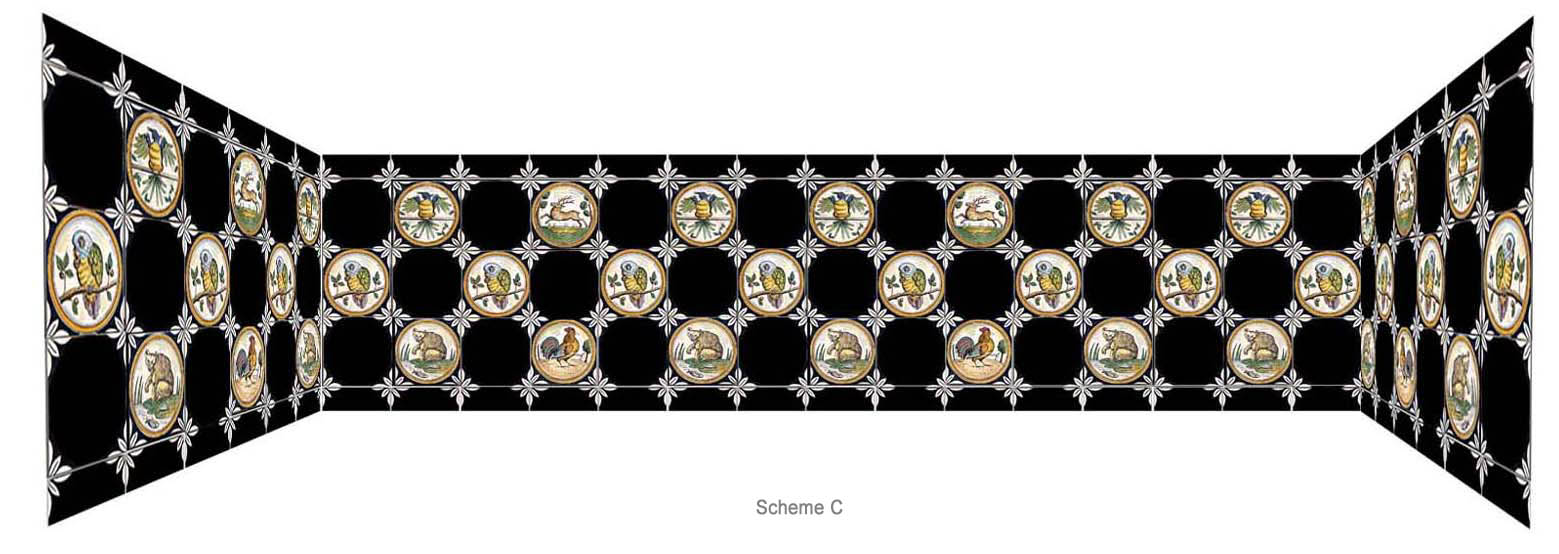
In order to visualise this striking composition, we used a 3D model.
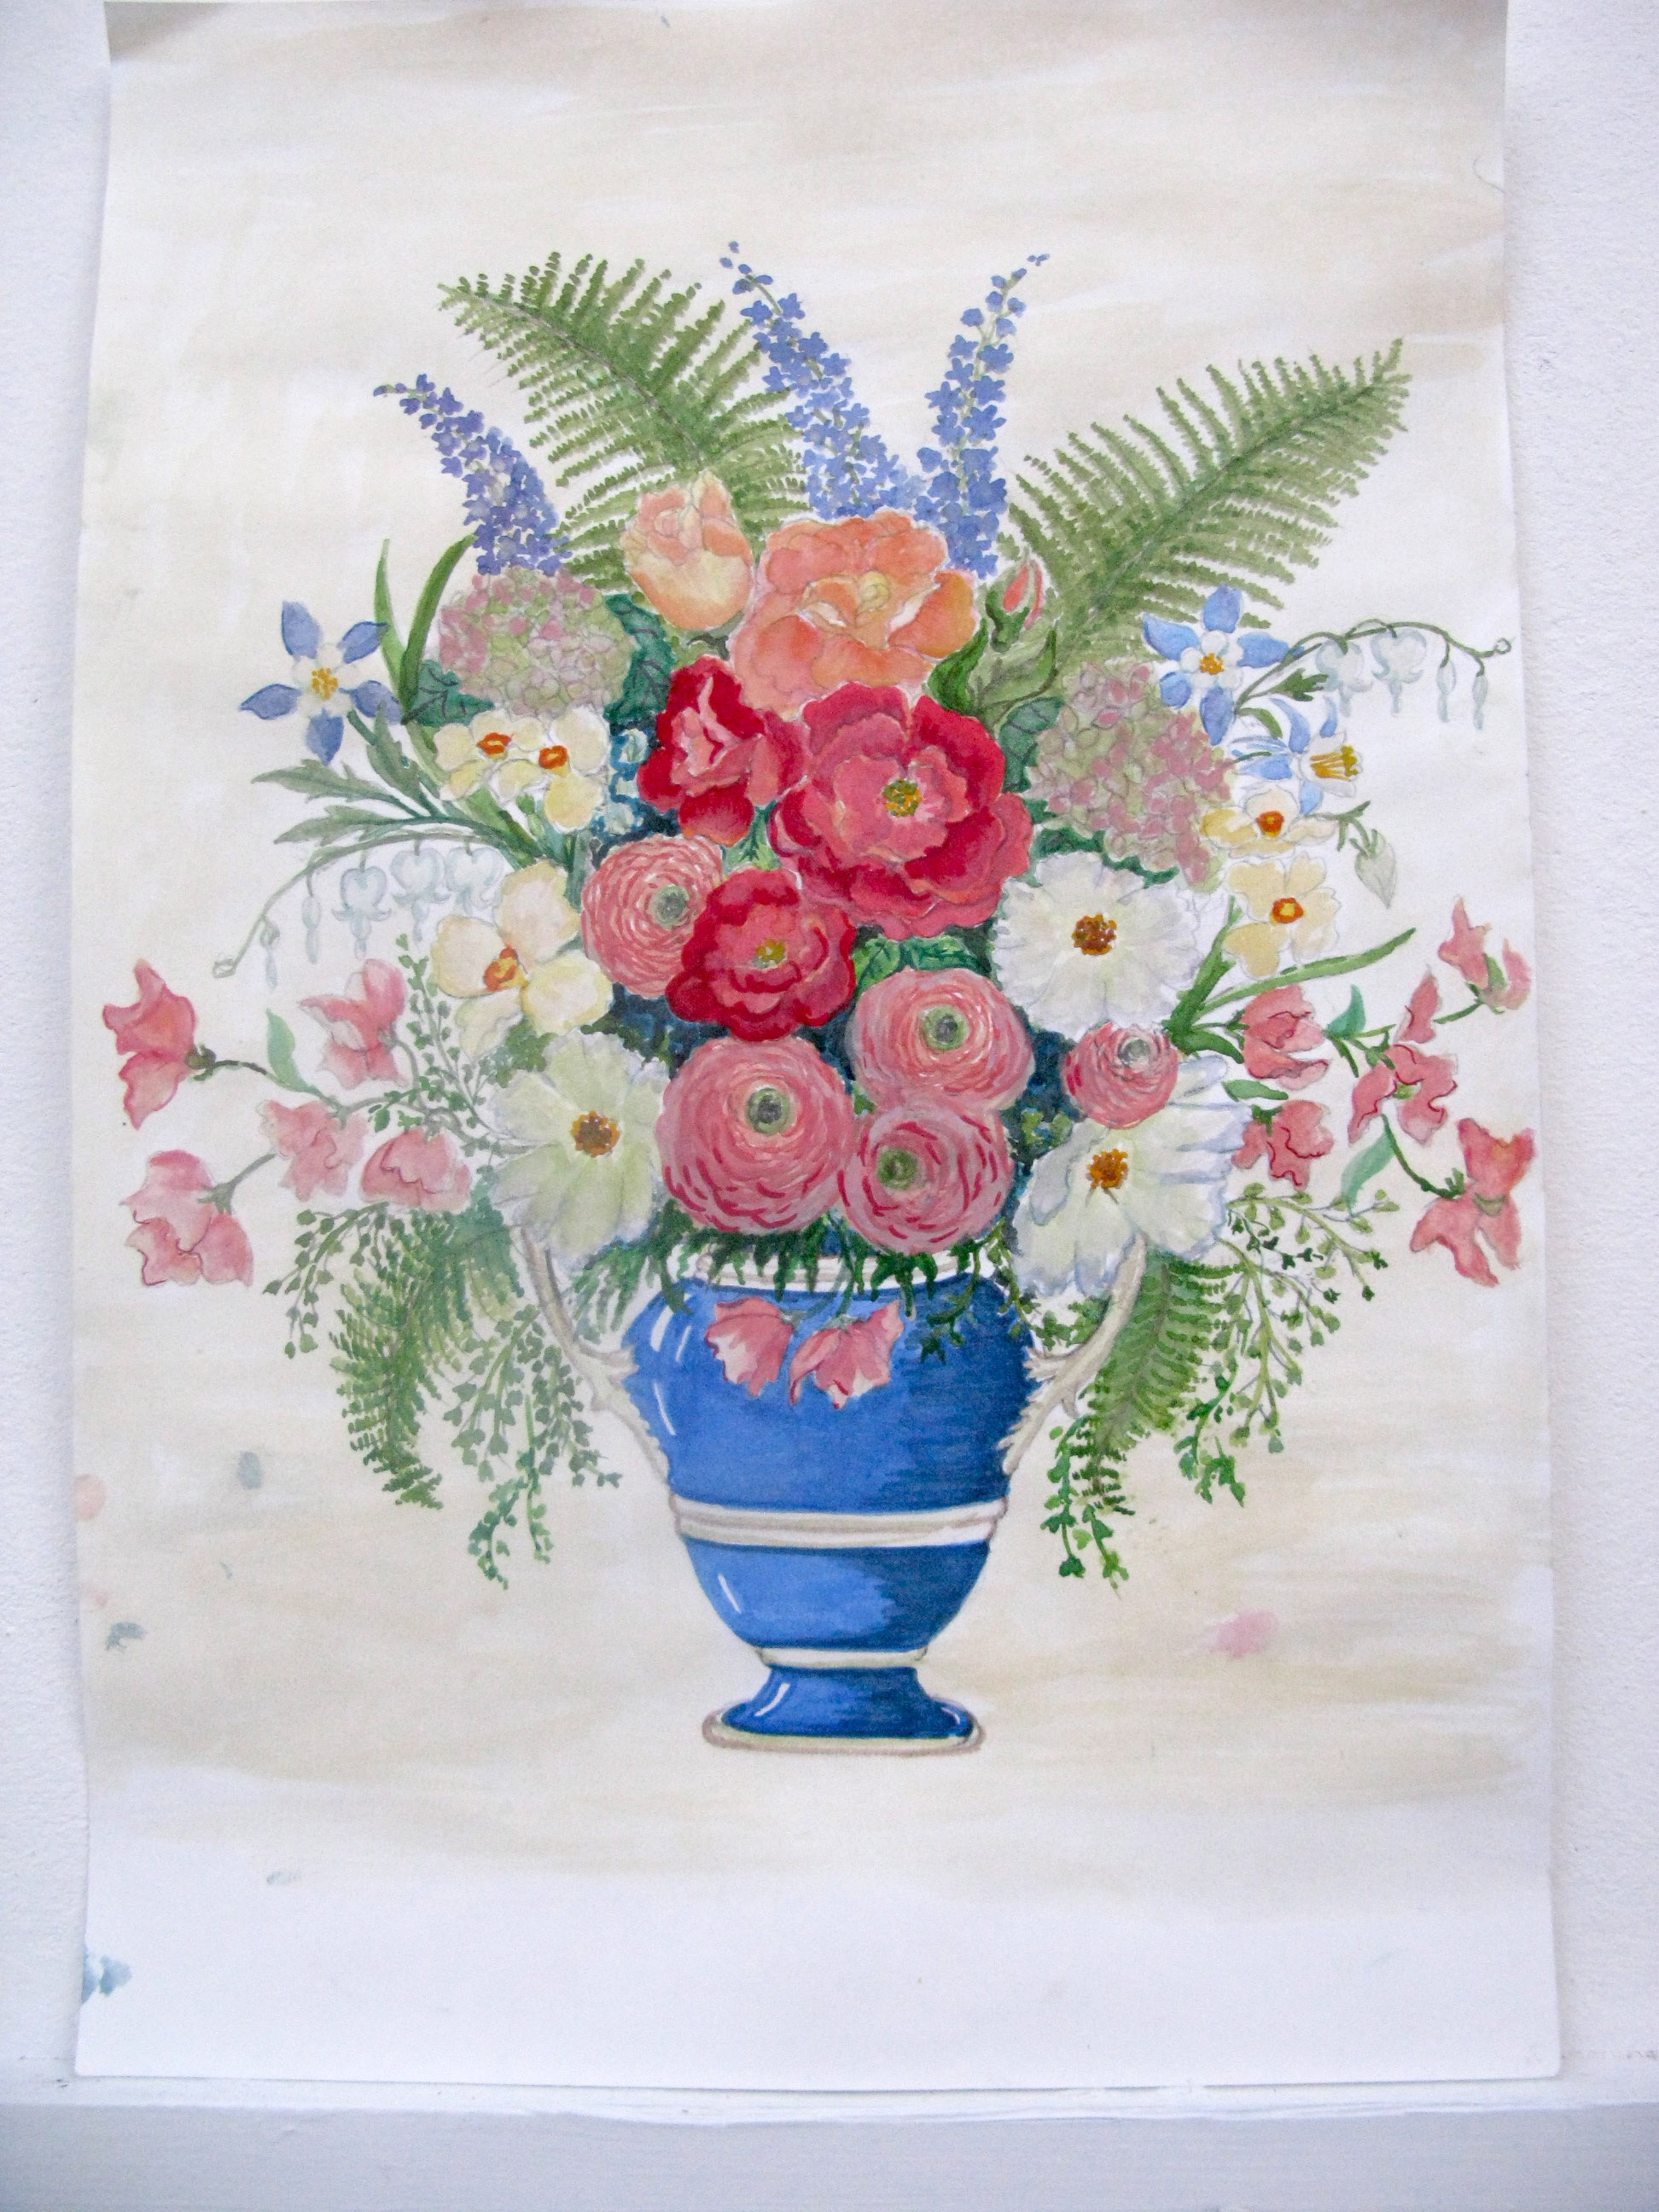
This is a watercolour showing the initial idea for a bouquet and vase composition. Usually we begin with a pencil sketch and if the design is right we may go on to a watercolour drawing. A charge will usually be made for special design work.
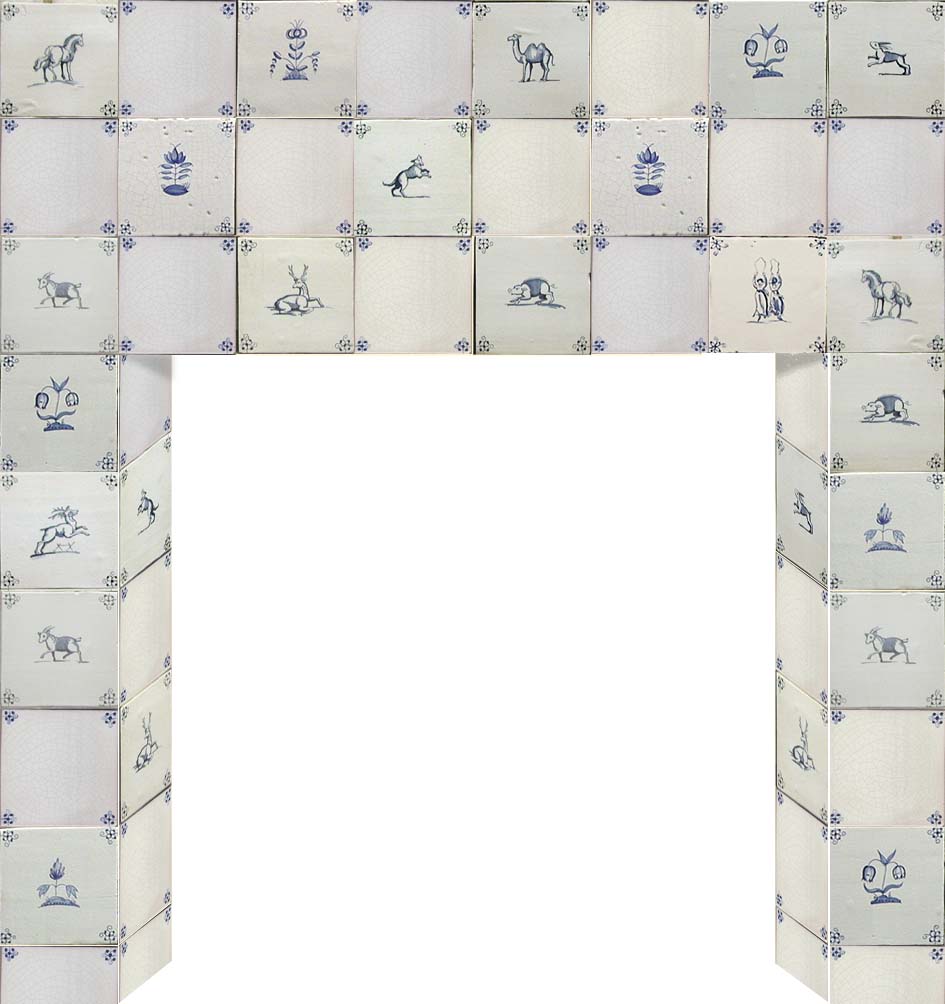
A mock up showing a fireplace surround with the client’s chosen designs.
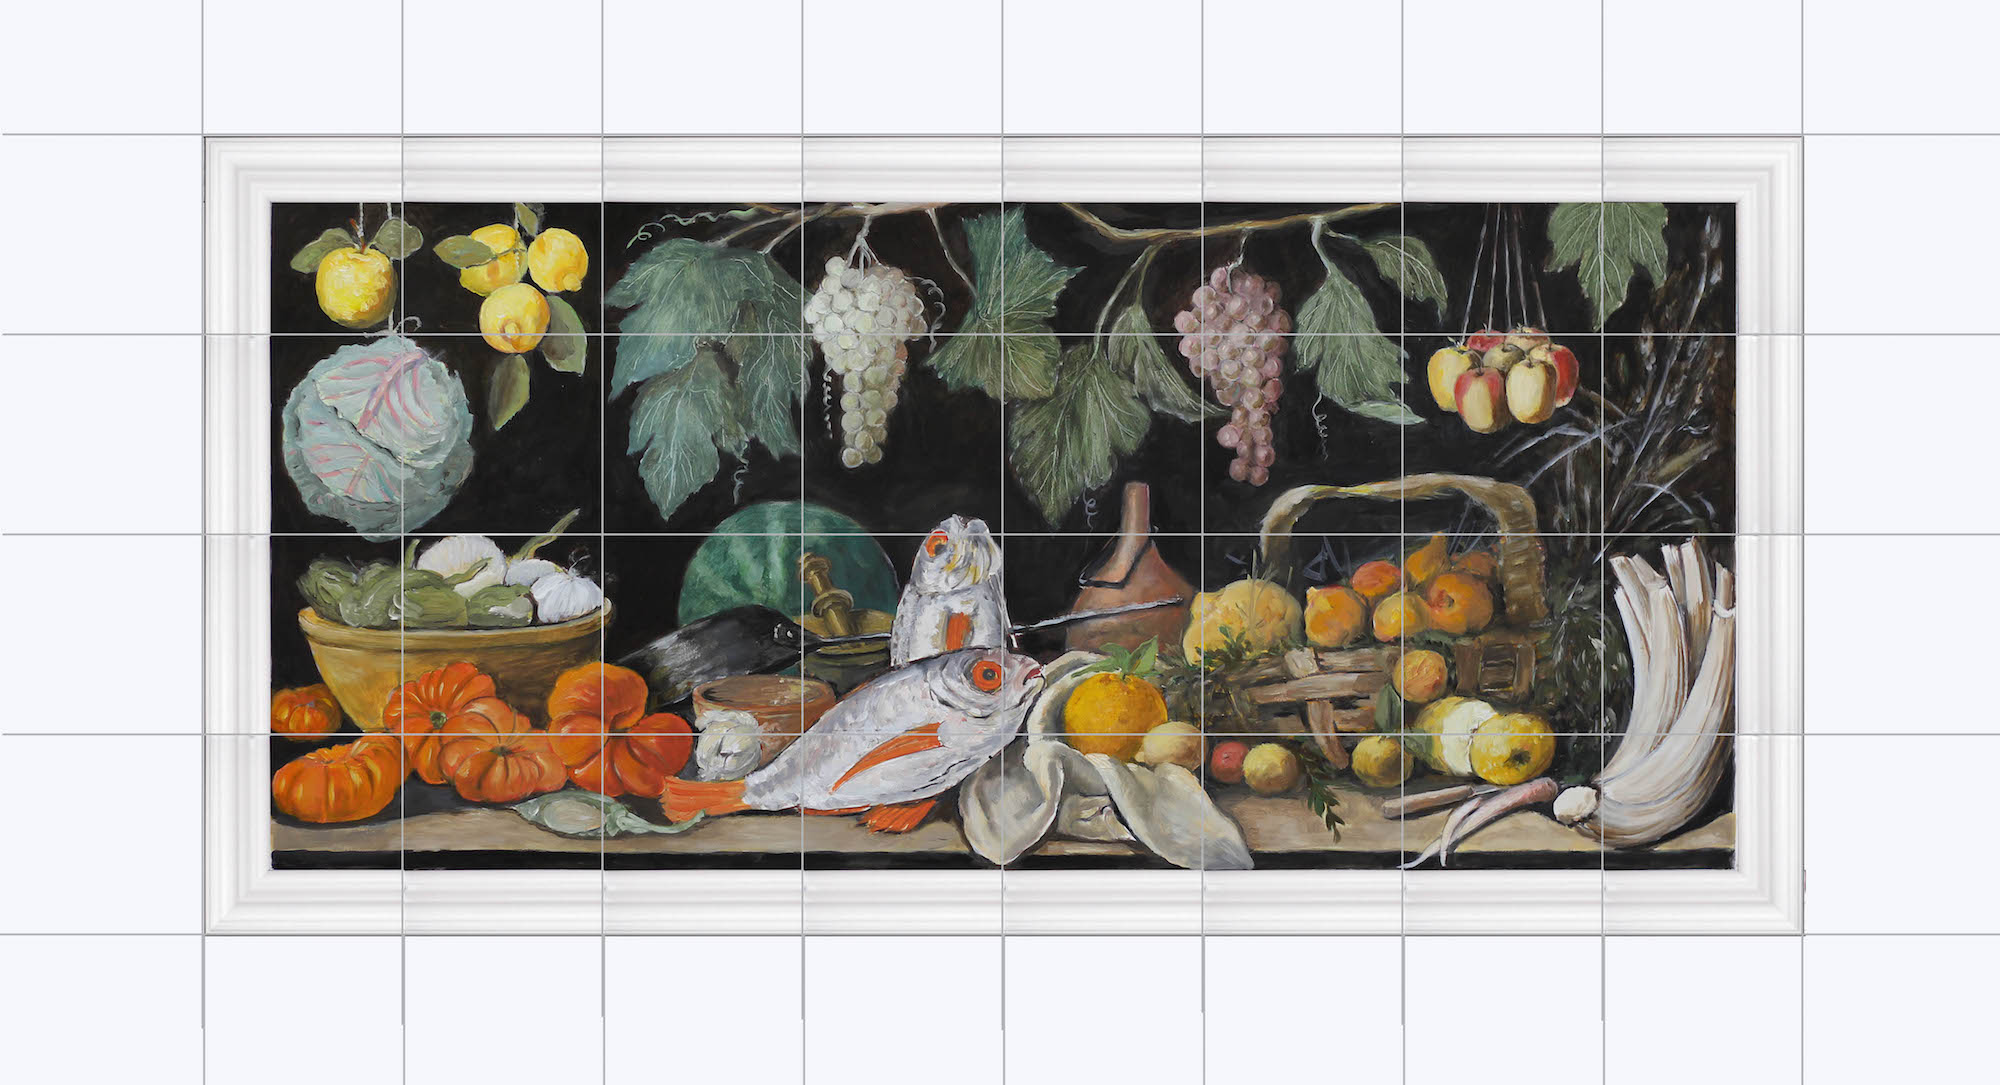
Using the elements that interested the client (Spanish still life painting), a detailed oil painting was made from which the tile painting could be copied. The finished panel can be seen in our Gallery.
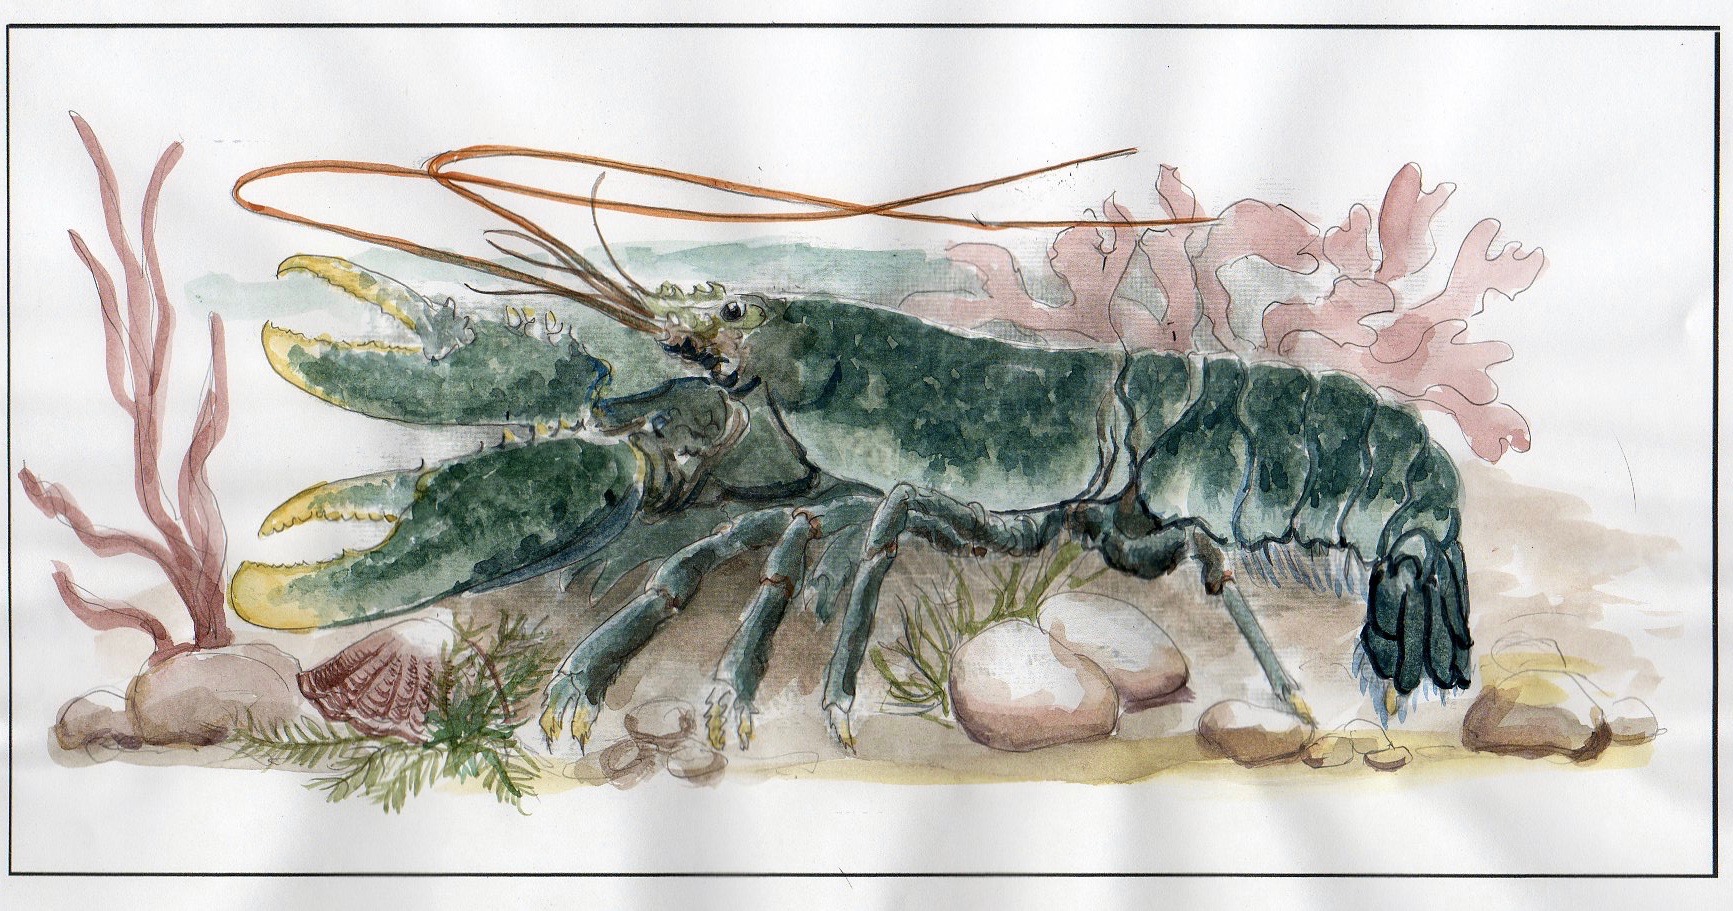
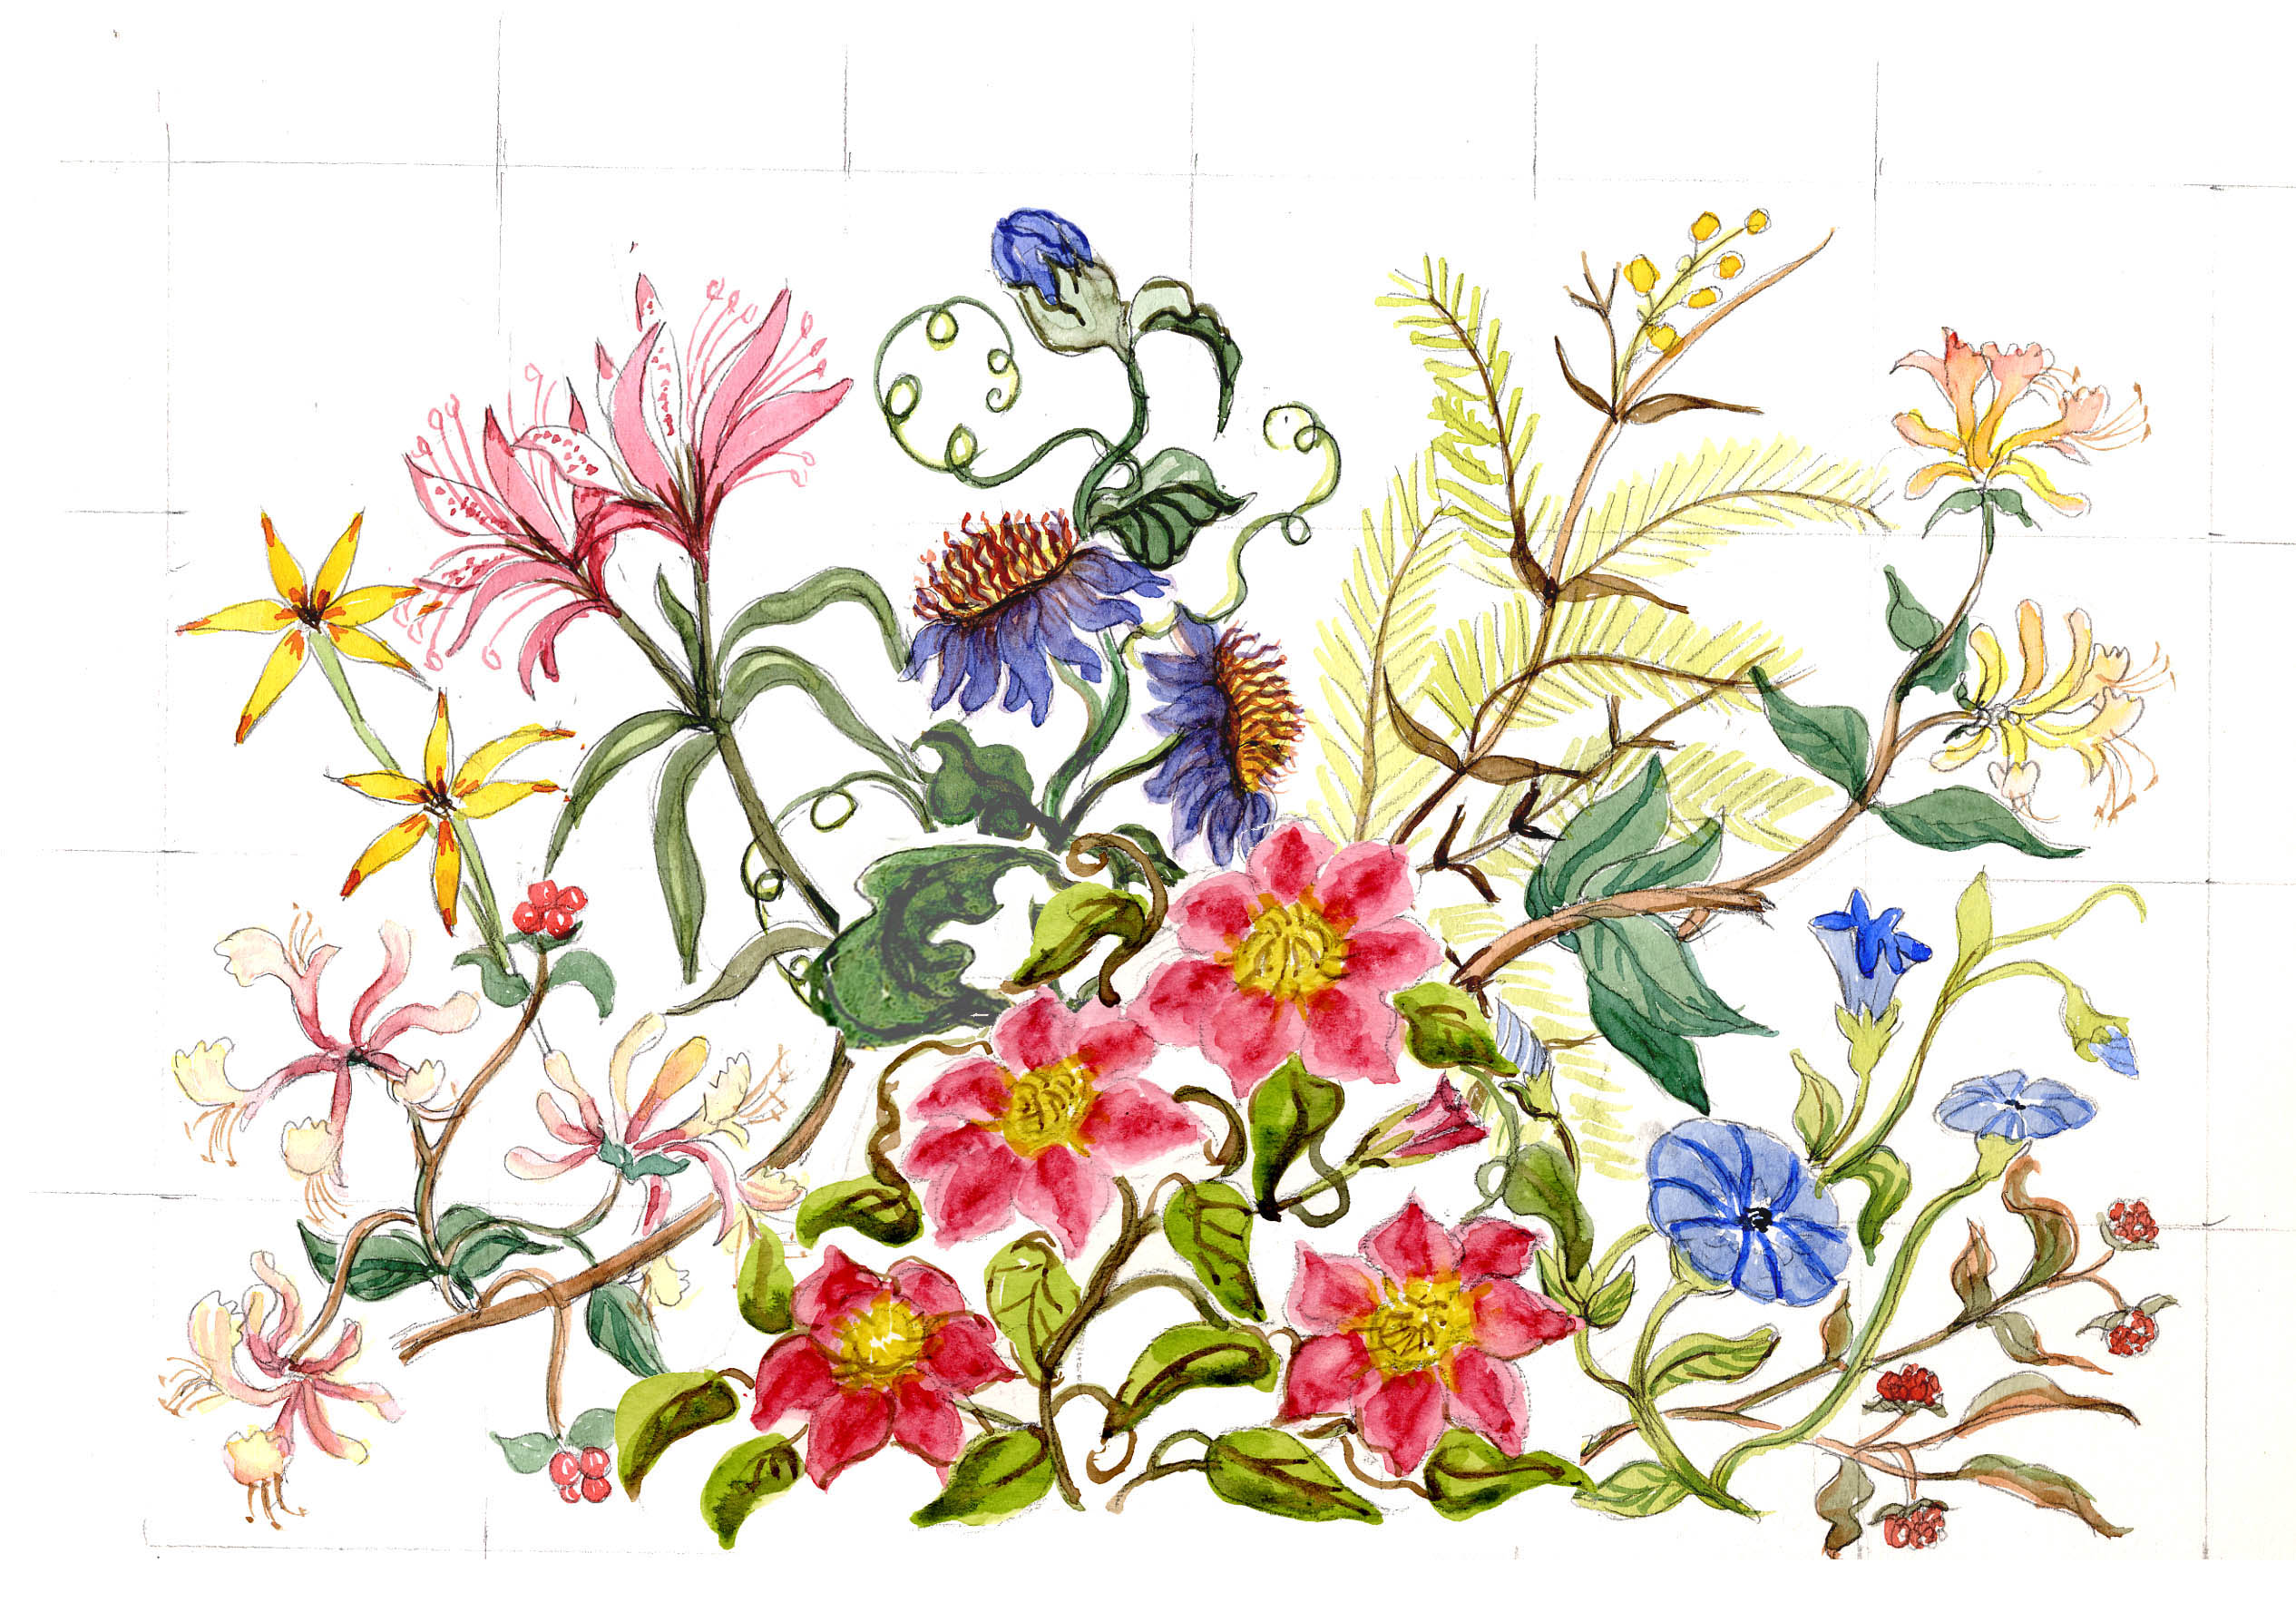
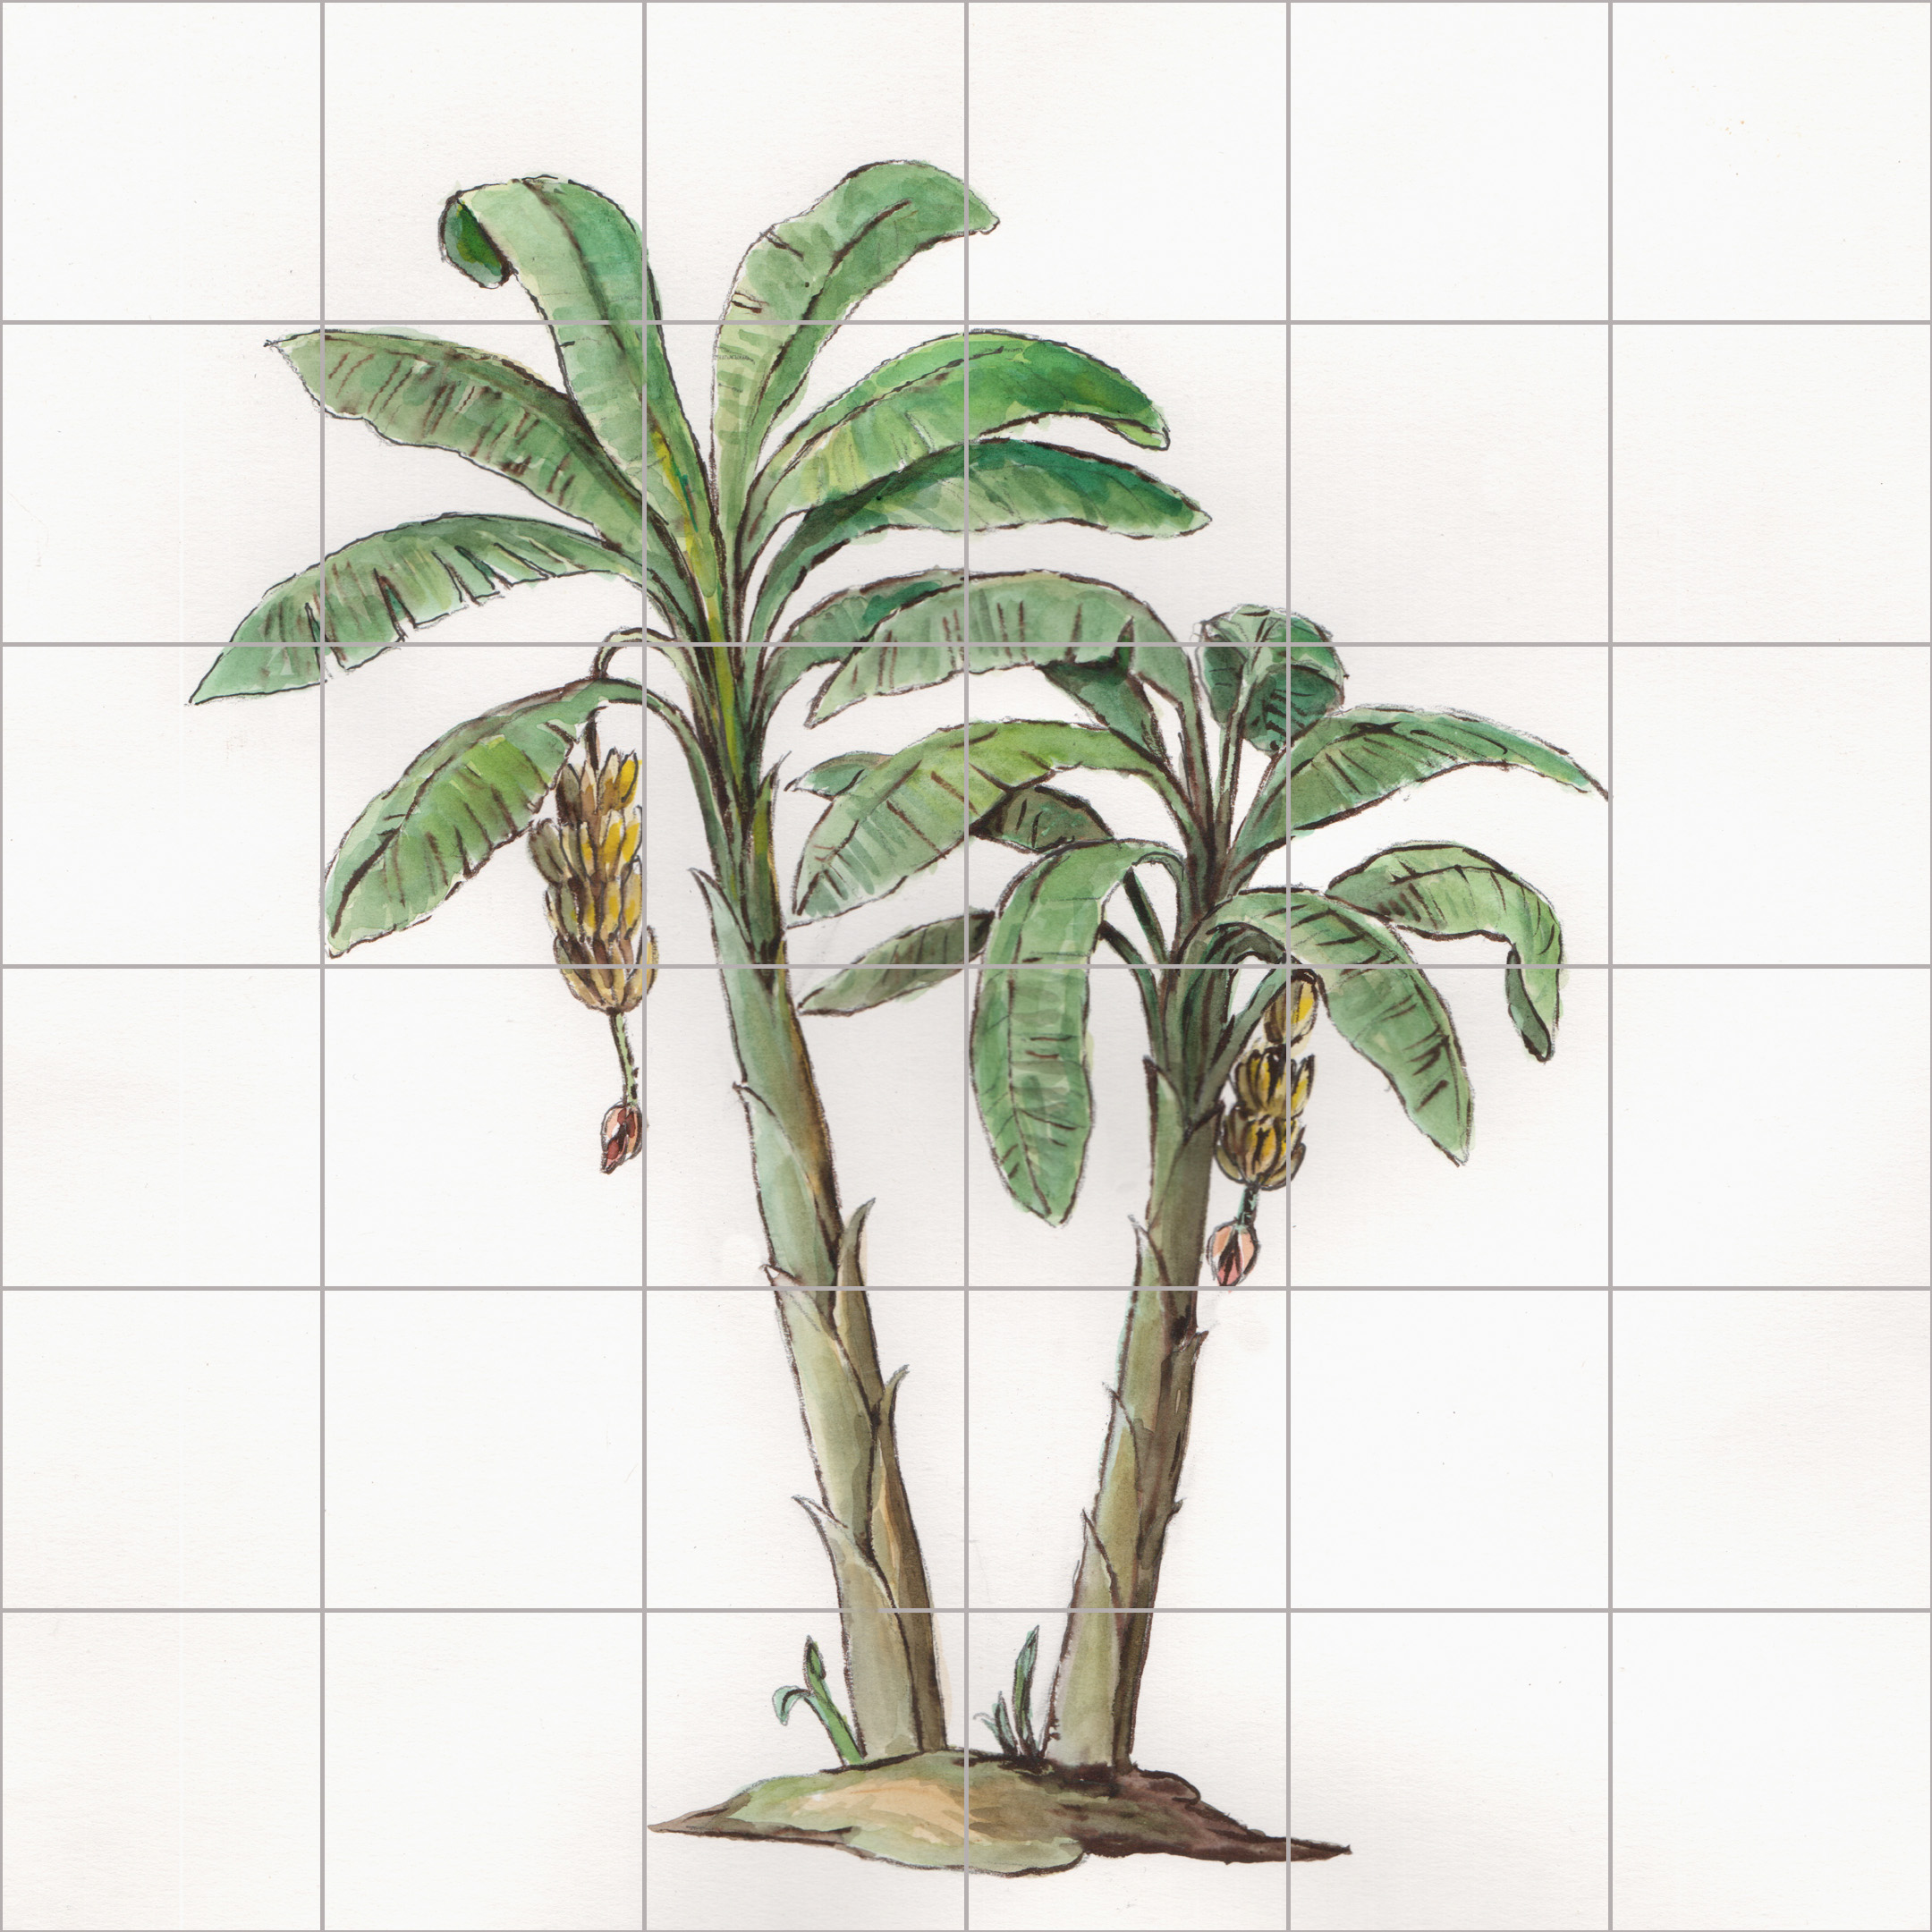
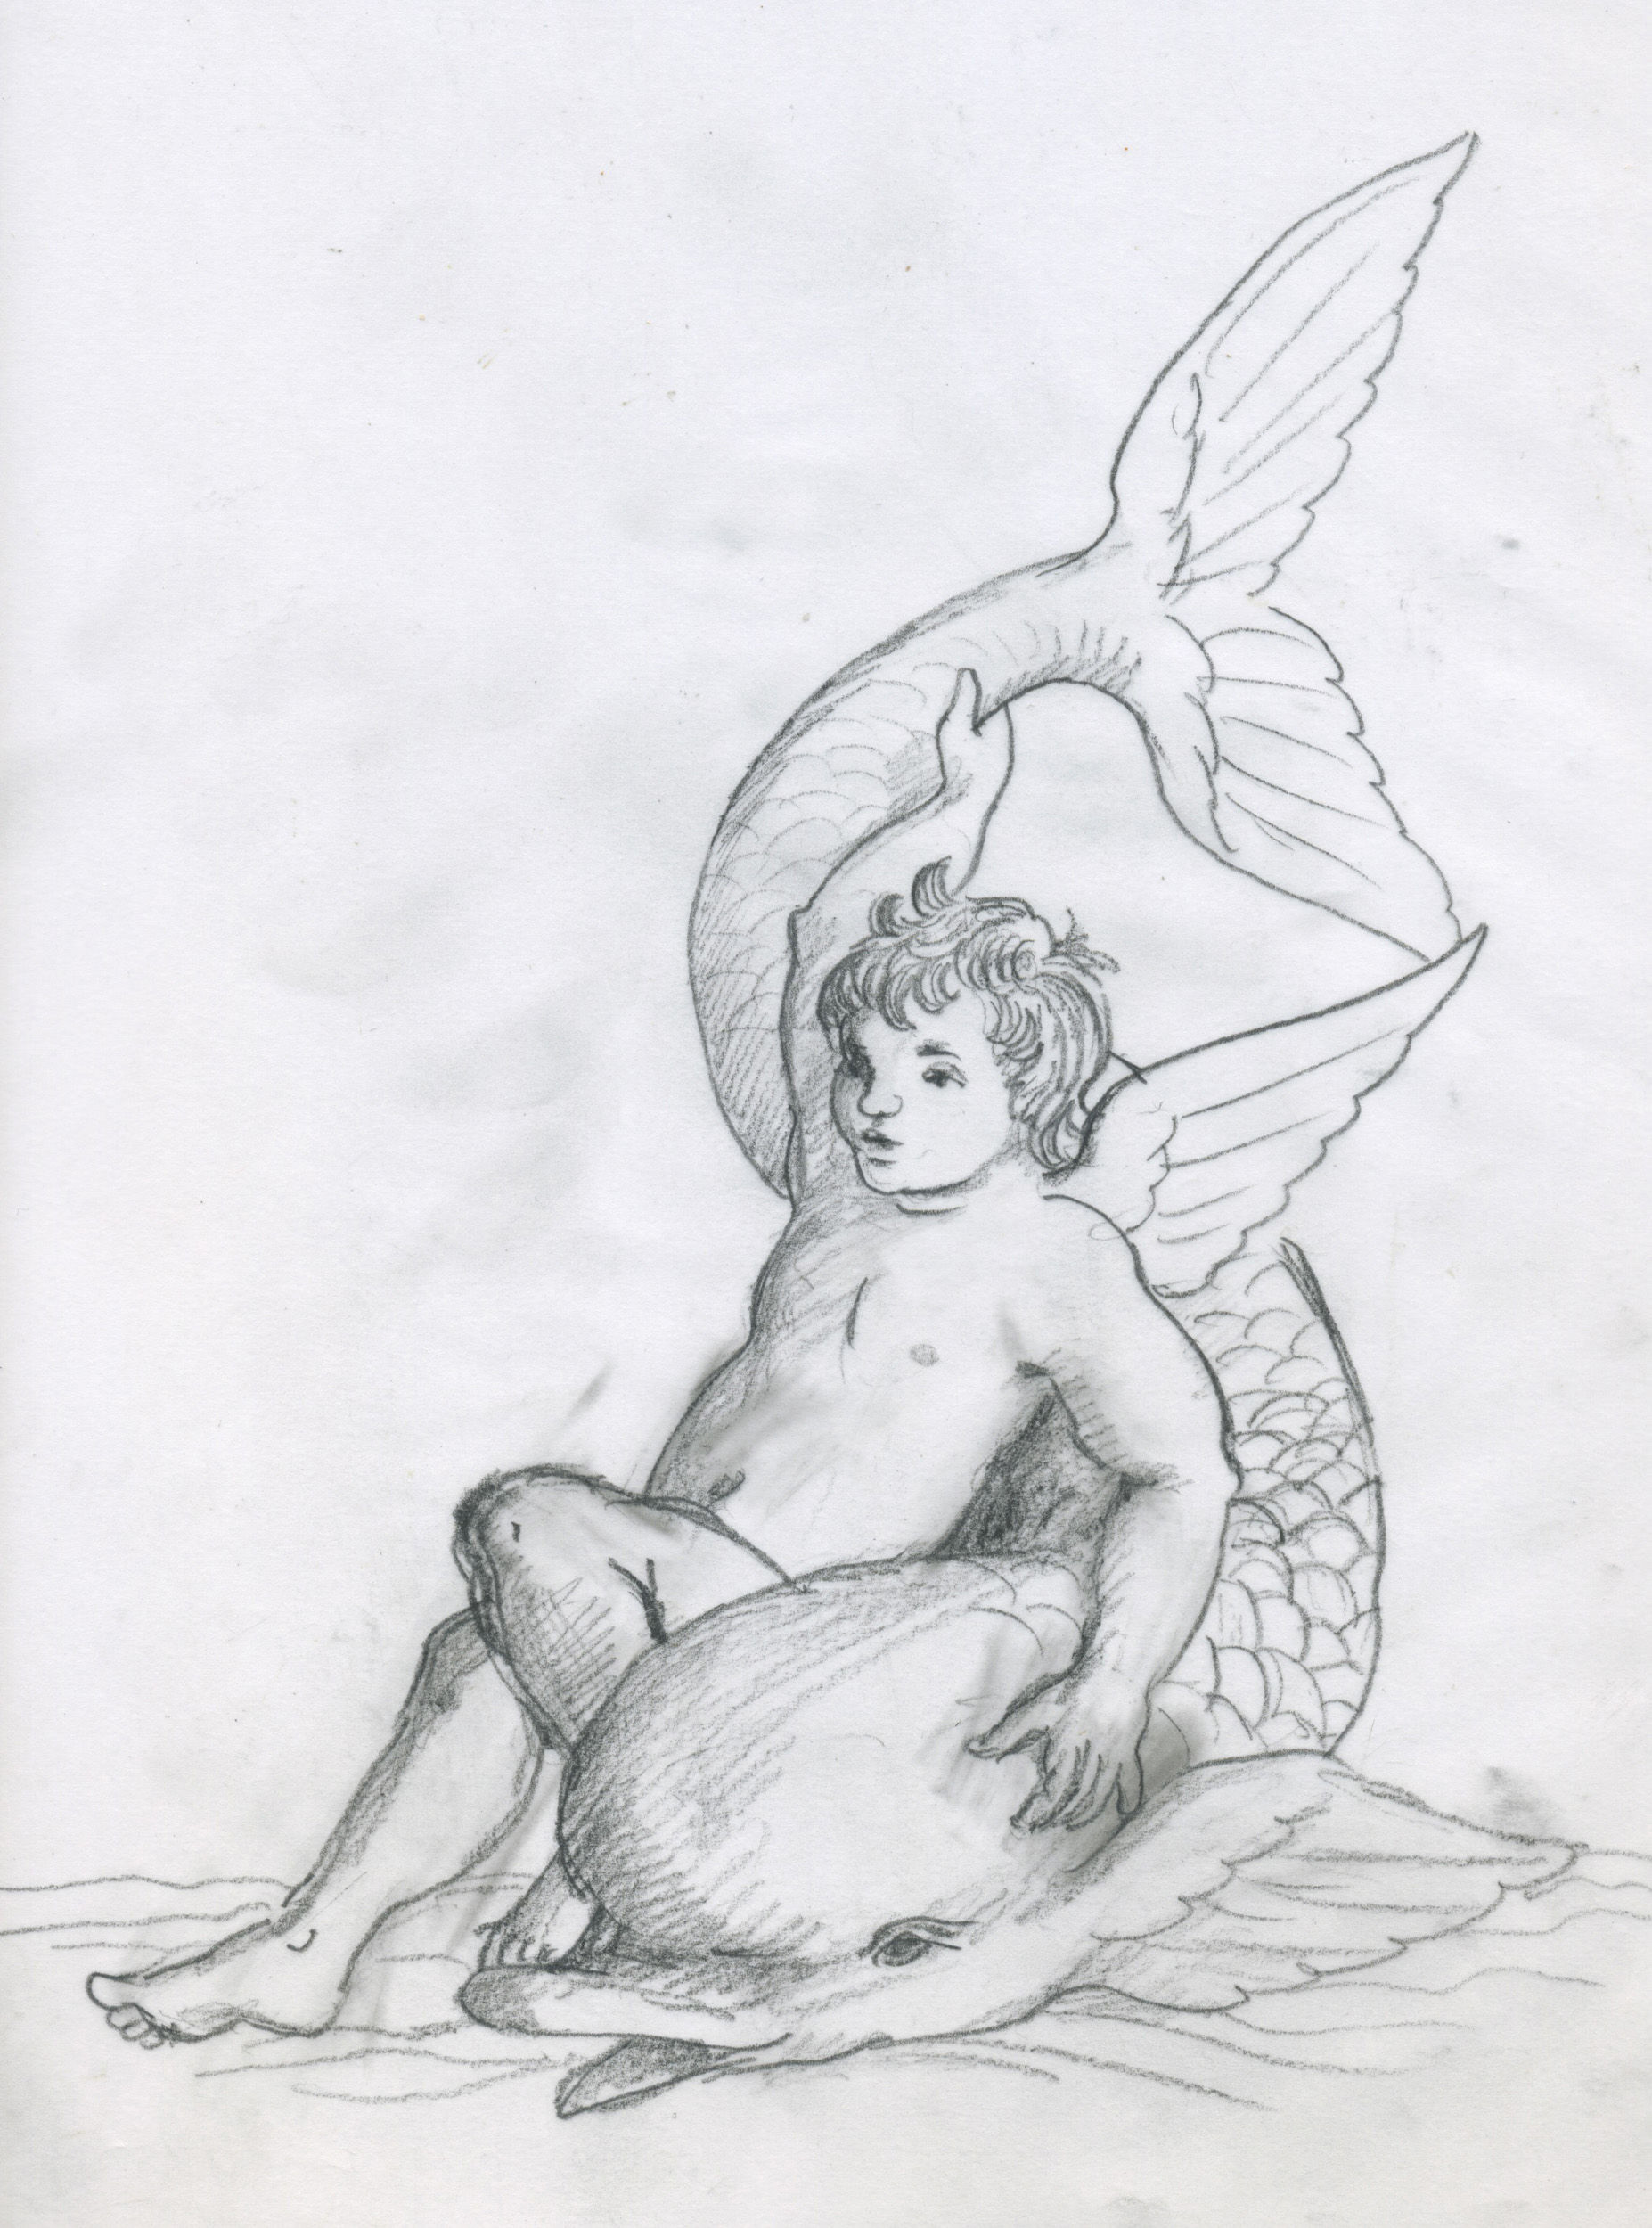
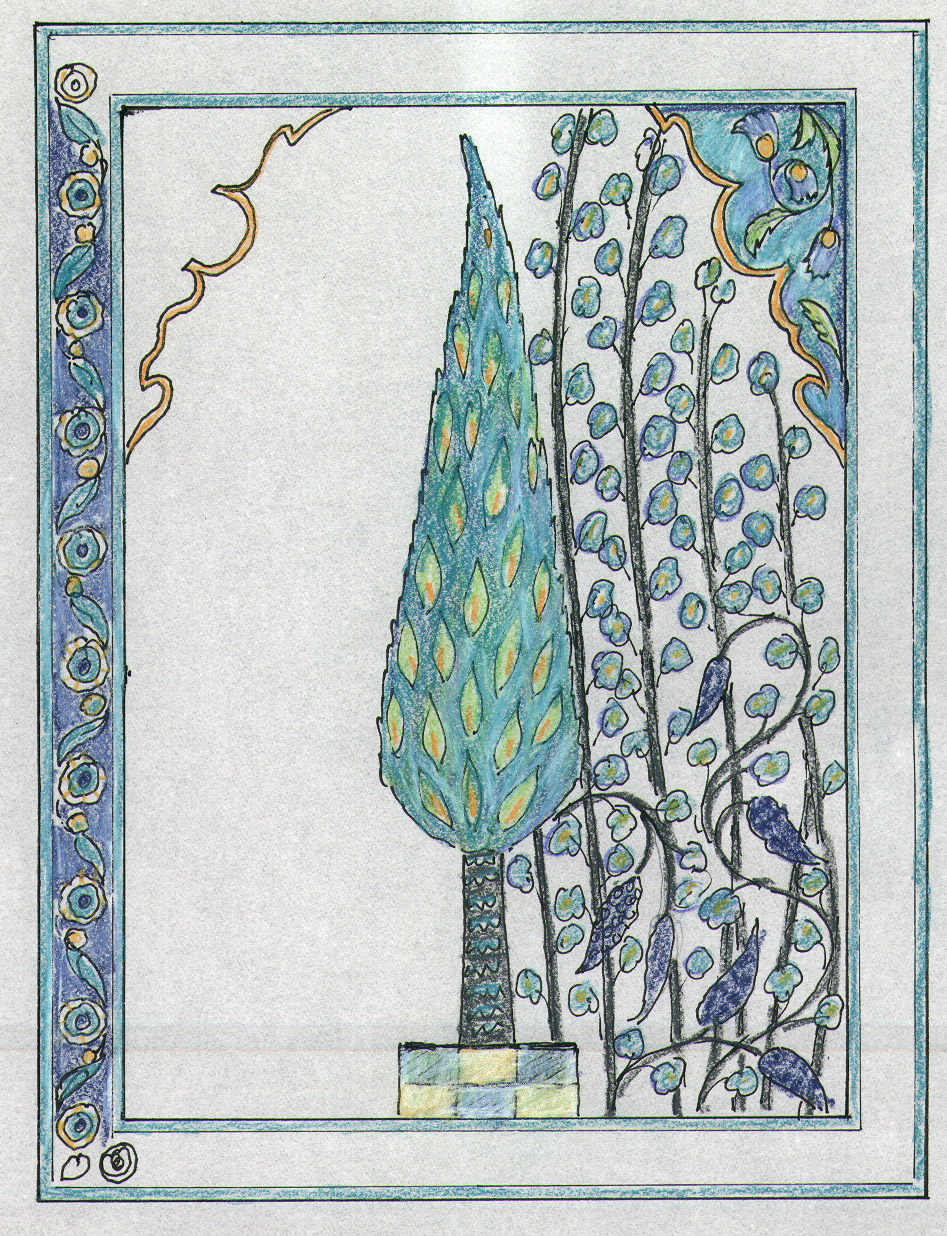
Drawings
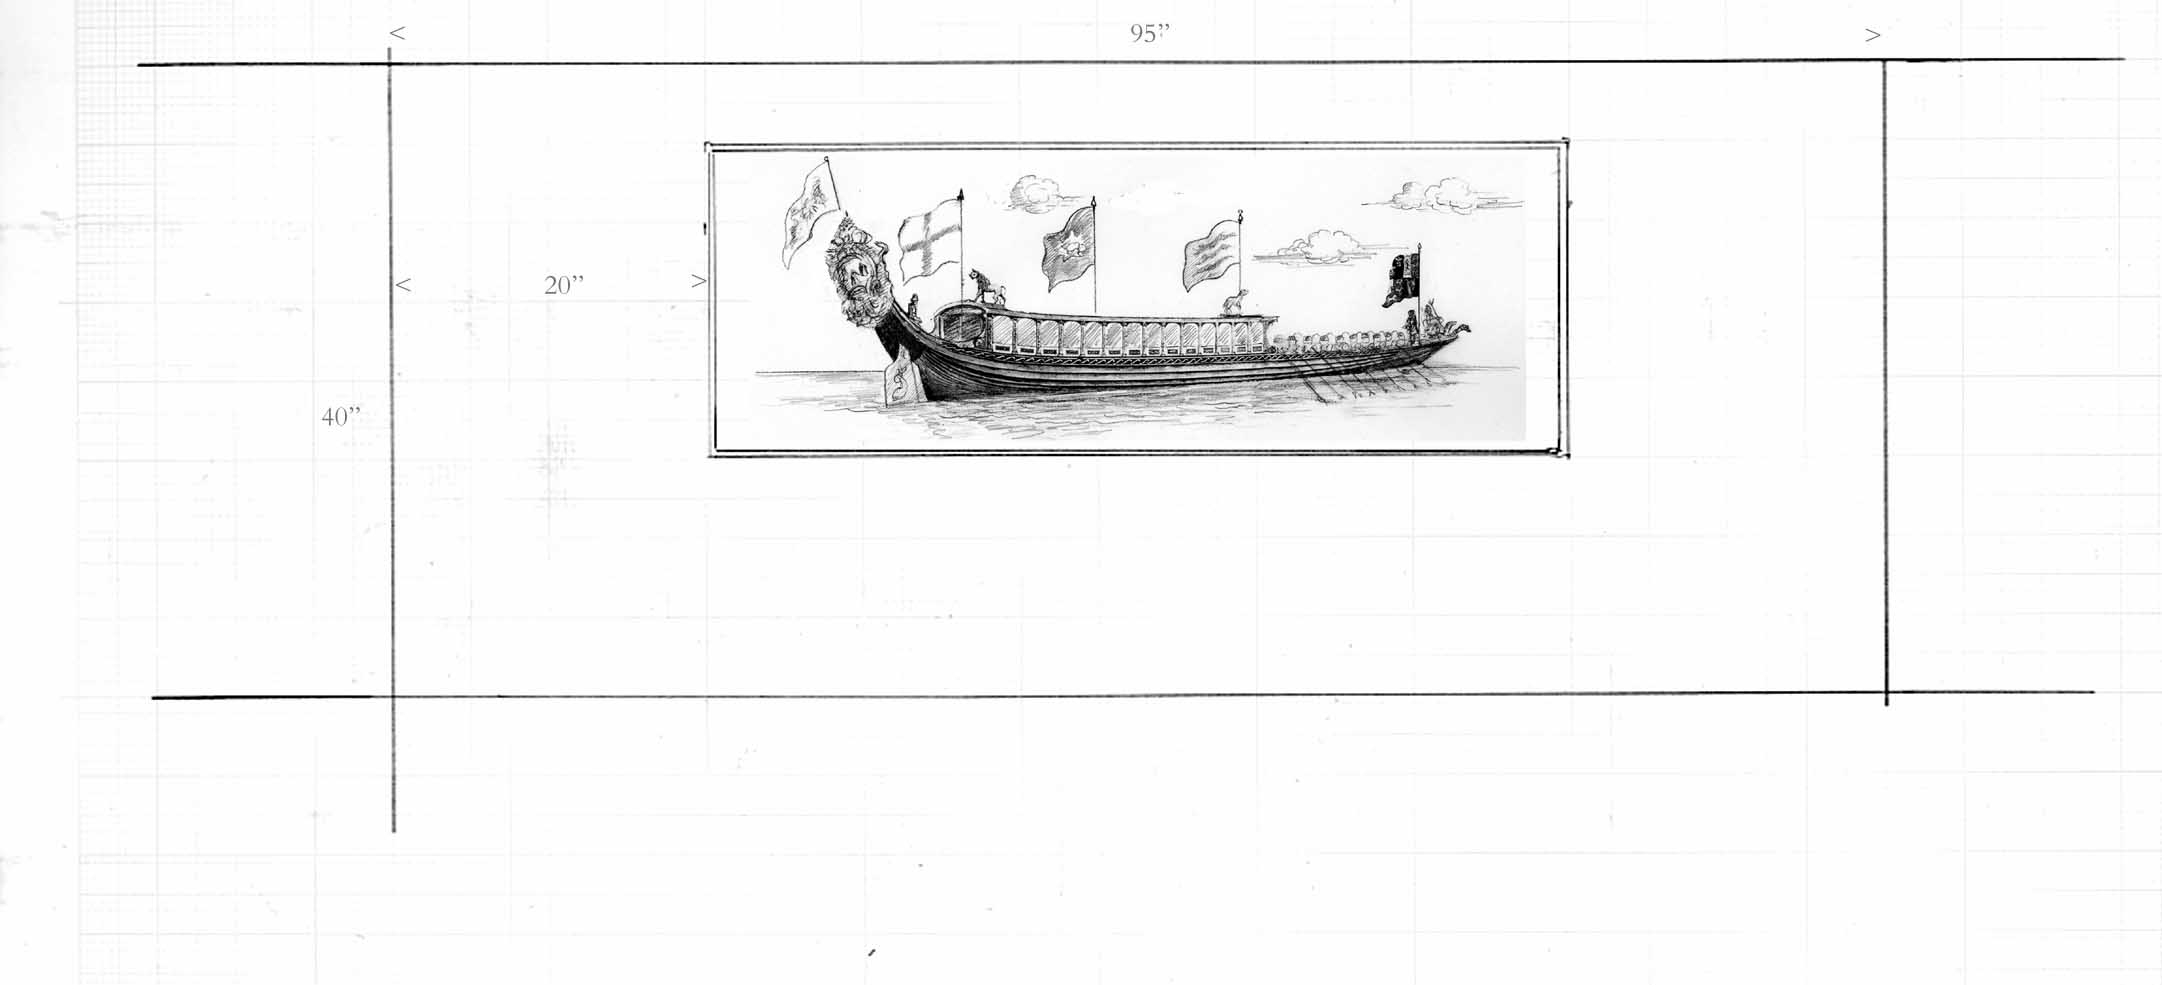
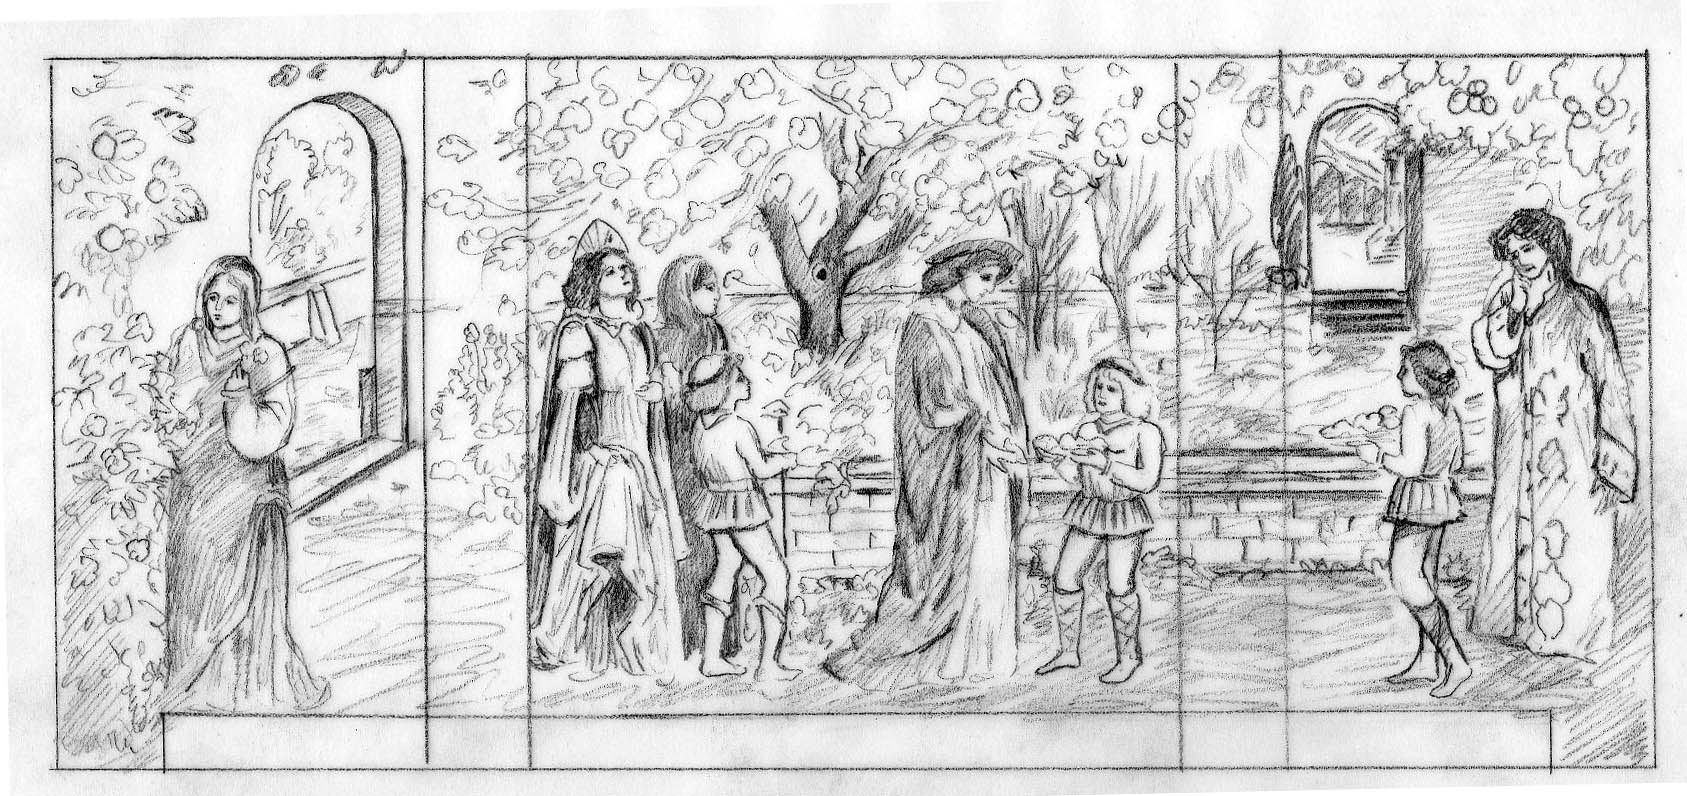
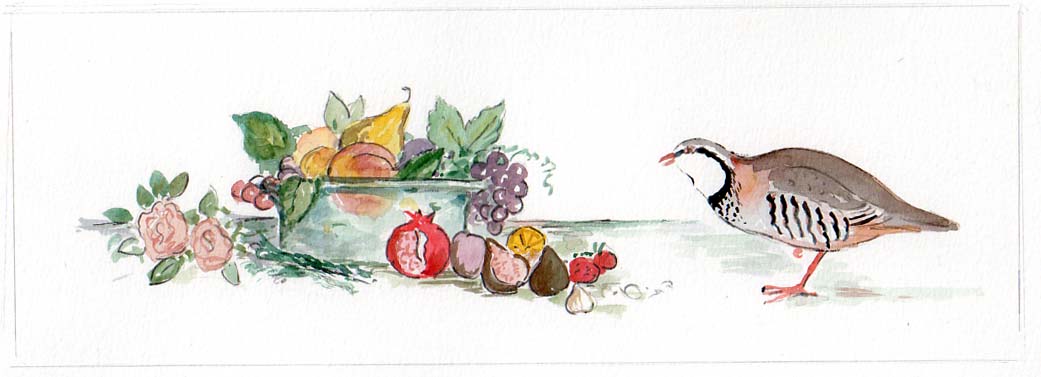
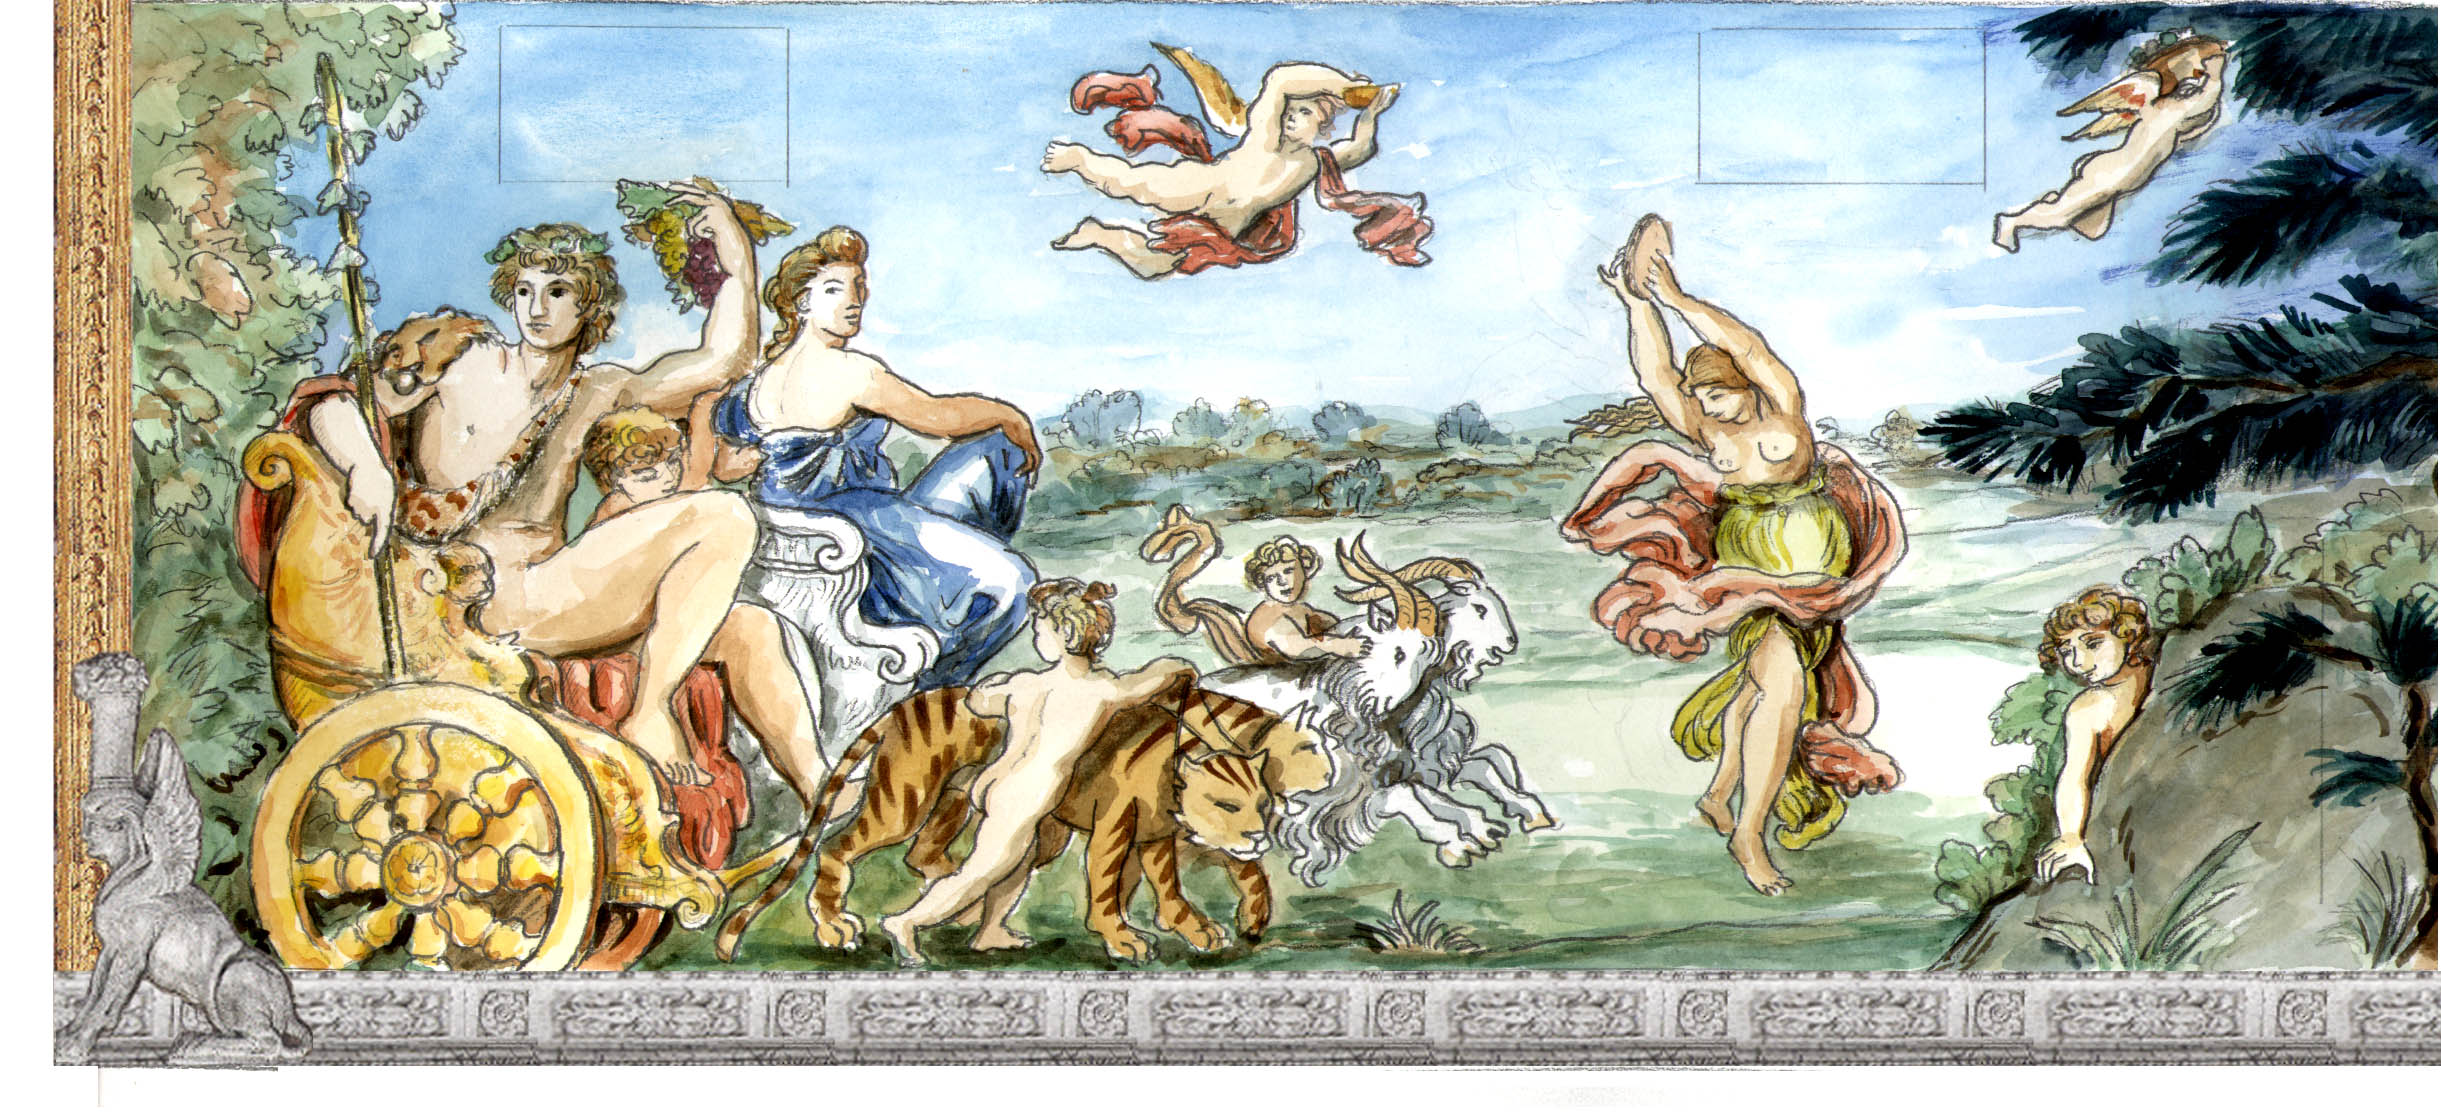
A further collection of drawings used in the process of designing tile panels for our clients
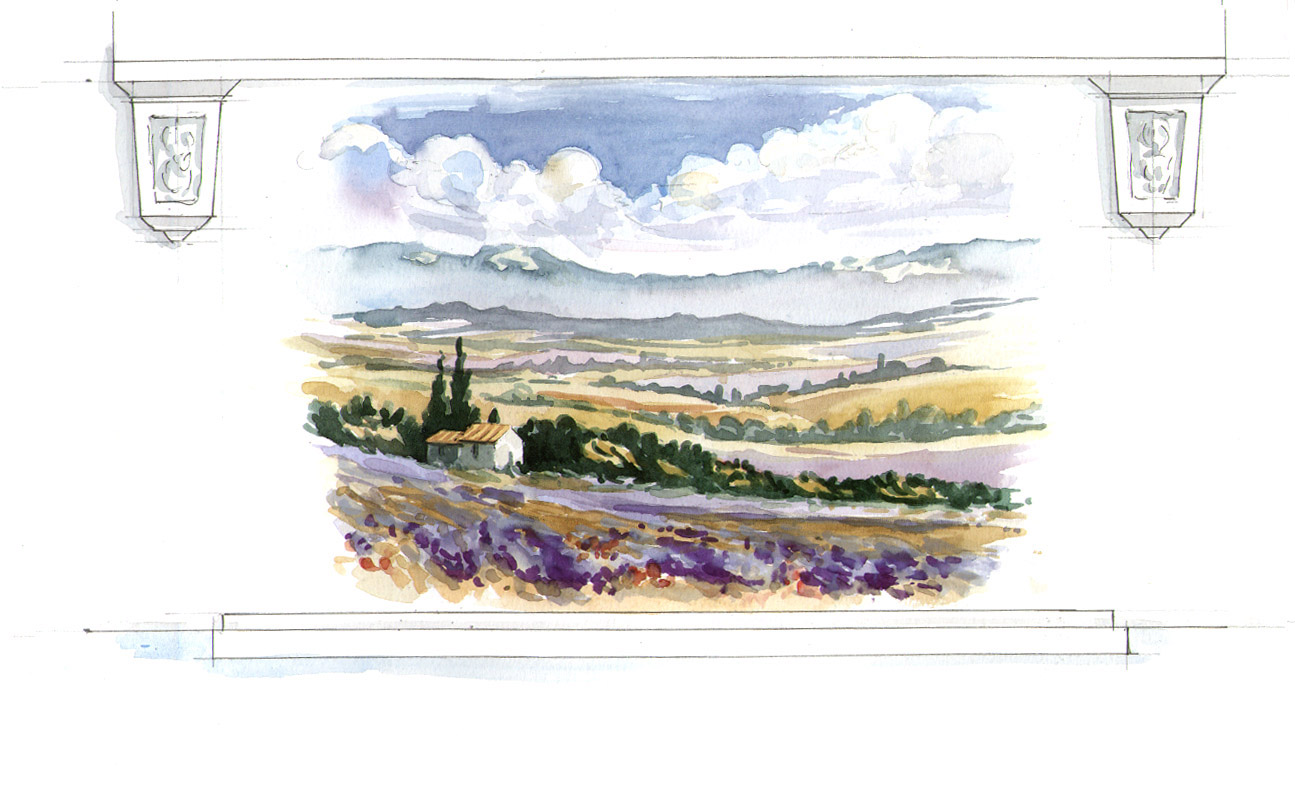

Mock-ups
Some further examples of mock-ups from past projects
